



Good coffee at a hammock camp is not a luxury. It's the thing that makes waking up in the trees worth it. The trick is keeping your kit light enough that it doesn't eat into your carry weight, because the wrong gear choices can add serious grams fast. This guide walks you through exactly how to build a smart, compact coffee setup, from setting a weight budget to the final kit checklist.
Step 1: Set Your Weight Budget Before You Pack a Single Item
Before you touch any brewing gear, decide how much of your pack weight coffee gets. This sounds obvious, but most hammock campers skip it and end up trimming shelter stakes to save grams while carrying a 670-gram espresso machine.
A good rule: give your entire coffee kit a 300-gram ceiling. That covers a dripper, a manual grinder, and a small bag of beans with room to spare. If you're going ultralight, push that ceiling down to 150 grams.
Here's some context on why the ceiling matters. A complete hammock sleep system can weigh as little as 1.75 pounds — that's the whole shelter side of your kit. If your coffee setup weighs more than your hammock, something is off.
Write the number down before you shop. Then evaluate every piece of gear against it. If an item pushes you over, it doesn't come. This one decision filters out most bad choices before you make them.
Also think about what you're already carrying. If you have a titanium cup or a stove for cooking, those already pull double duty for heating water. You don't need a separate brewing vessel with a built-in heater. Your coffee budget covers only the brewing method and the beans.
Step 2: Choose the Right Lightweight Brewing Method for Hammock Camps
This is where most of the weight decisions get made. Not all brew methods are equal when pack weight counts.
Here's the pattern that shows up in the data when you look across 20 trail-tested coffee tools: the median weight of ultralight brewing gear is just 11 grams, but the average balloons to over 90 grams because espresso machines drag the number up hard. Espresso tools make up only about 15% of the options, but they account for both weight outliers in the category. If portability is your goal, espresso gear is the one type that consistently breaks the lightweight rule.
Pour-over drippers are the sweet spot for hammock travelers. The GSI Outdoors Ultralight Java Drip weighs 0.4 oz and costs $11. That's the floor. It sits on your cup, you pour hot water through ground coffee, and you're done. No moving parts, no technique barrier. The Miir Pourigami is heavier at 113g but folds flat and delivers noticeably cleaner flavor because it uses stainless steel panels instead of a plastic cone.
The AeroPress Go is a strong second option. It weighs 11.5 oz (about 326g), which is heavier than a dripper, but it's versatile. Brew time is around 2 minutes, water capacity is 8 oz, and cleanup is fast. For hammock campers who care deeply about cup quality and don't mind the extra weight, it earns its place.
The ESPRO Ultralight Travel Press at 269g is a French press option worth knowing. It's a good middle ground if you prefer immersion brewing and want to skip paper filters entirely.
Below is a quick comparison to help you pick the right method for your setup.
For most hammock travelers, a simple pour-over dripper paired with a good grinder gives the best weight-to-quality ratio. The pour-over method gives you precise control over extraction by adjusting pour rate and water temperature, which matters when you're working with a camp stove and a variable heat source. Keep that in mind if you're new to the method.
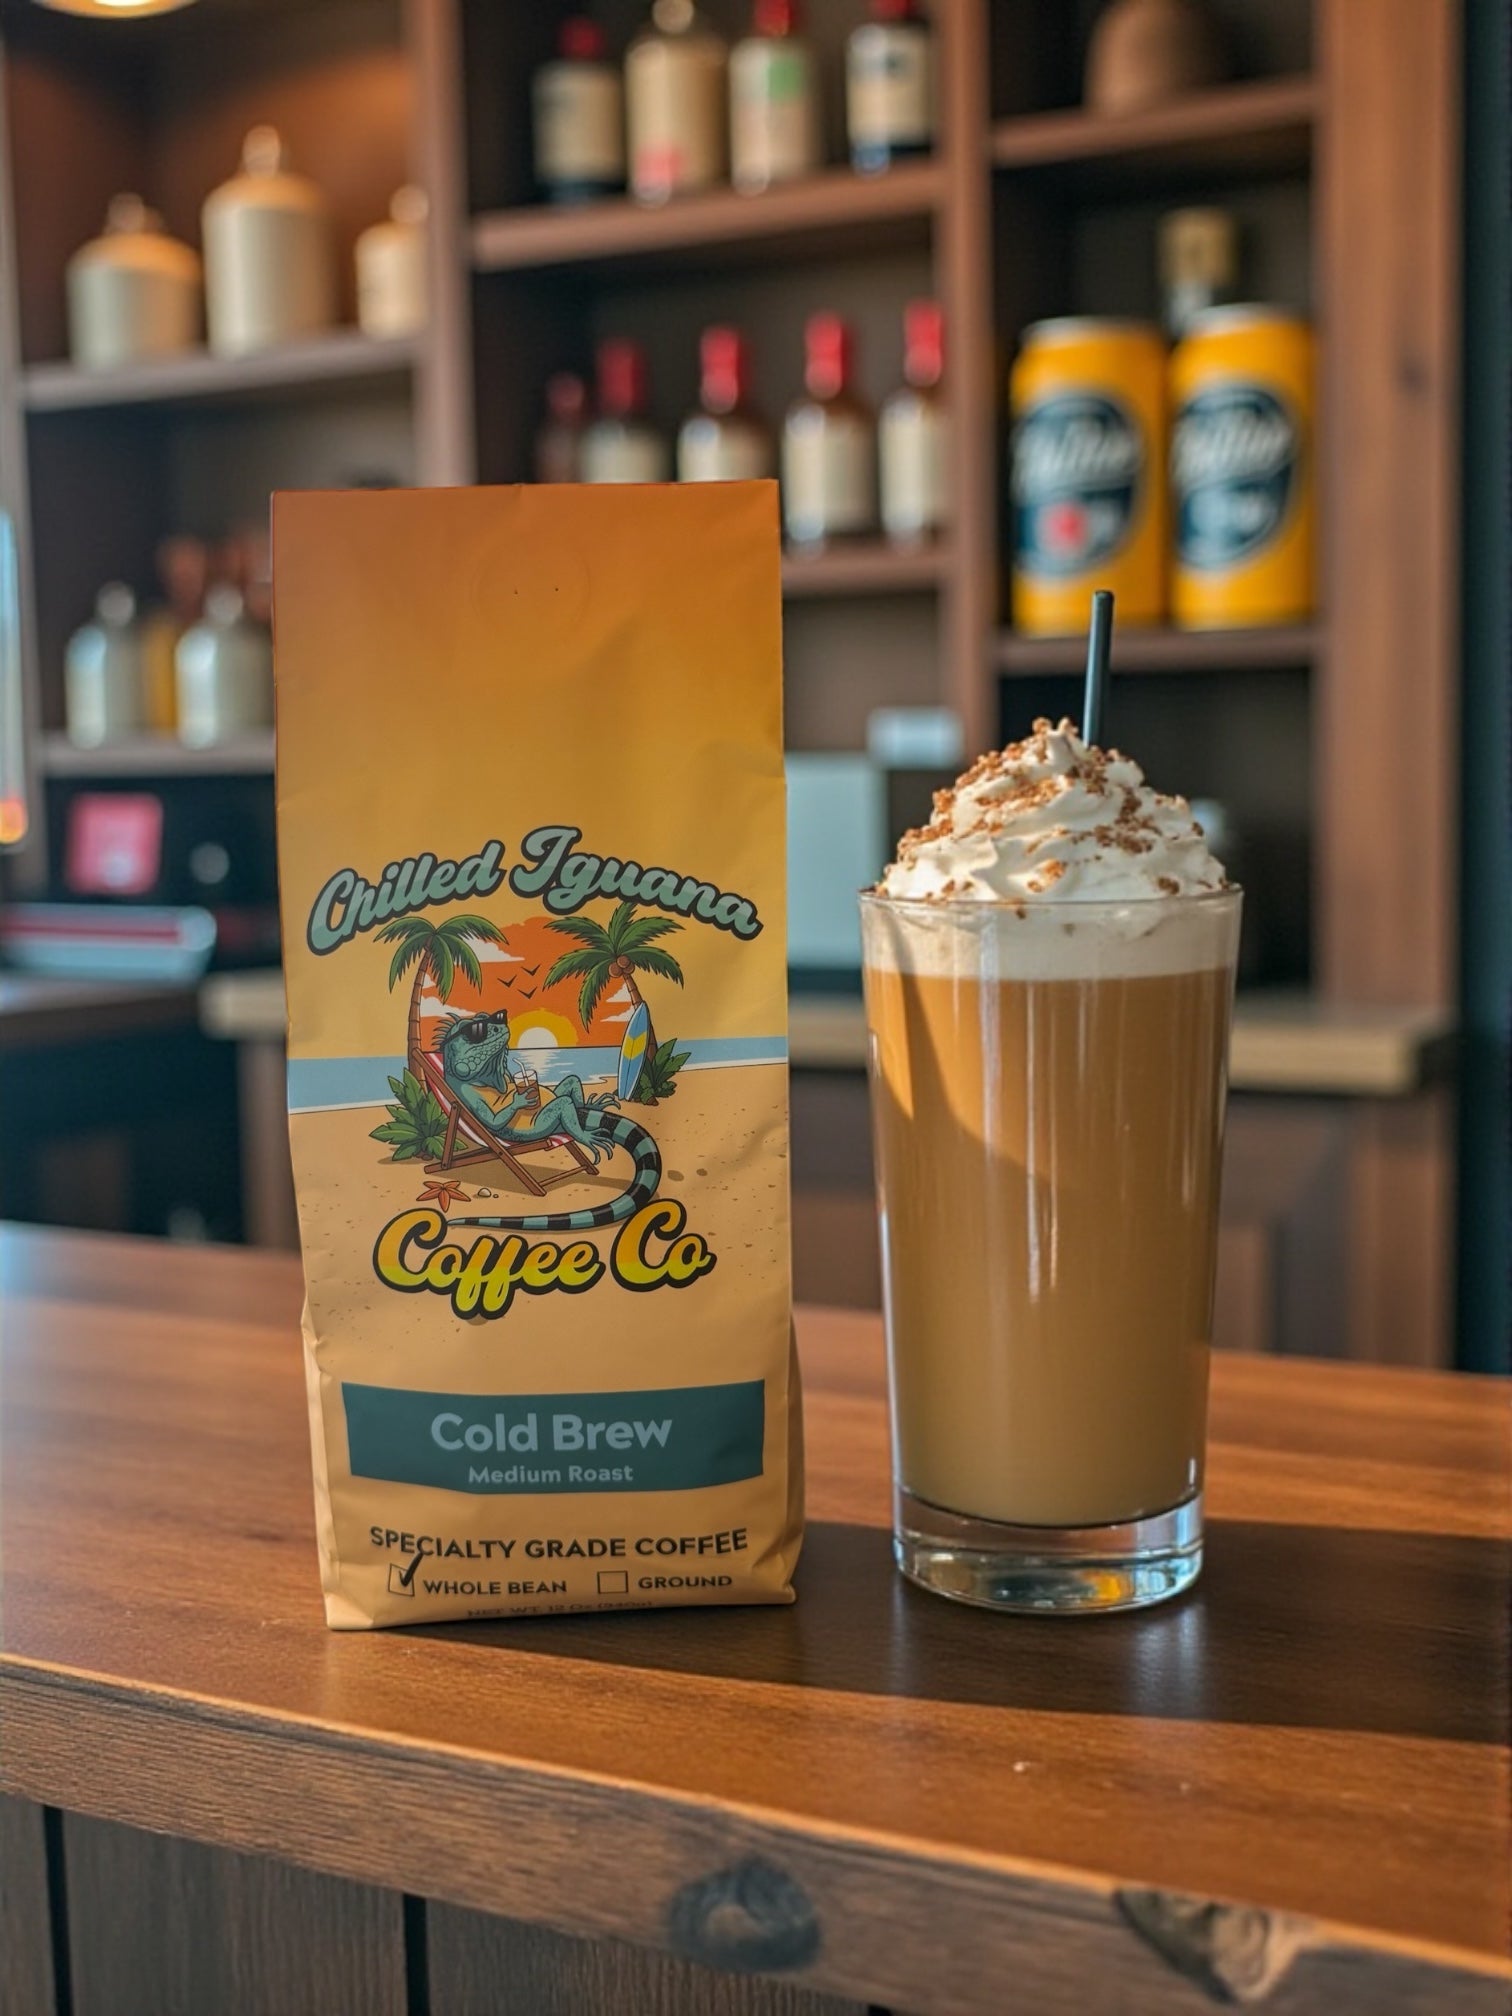
If you're planning a longer trip and coffee quality matters more than shaving every gram, the Cold Brew Coffee from Chilled Iguana Coffee Co. is worth considering. Cold brew concentrate made at home the night before travels well in a small sealed bottle and needs no hot water or brewer at camp. Just pour over ice or drink straight.
Step 3: Pick the Best Coffee Beans for Trail and Hammock Brewing
Your brewer choice means nothing if your beans are stale. Beans are also one of the heaviest items in your kit if you overpack, so bring only what you need per day.
A standard trail ration is about 15-20 grams of whole beans per cup. For a three-day trip with one cup a morning, that's 60 grams max. Don't bring the whole bag.
Whole beans keep their flavor longer than pre-ground, but they require a grinder. Pre-ground is lighter on gear weight since you skip the grinder. The trade-off is real: pre-ground coffee goes stale faster, especially in open air. If you're out for more than two days, whole beans win.
Roast level matters for brewing method. Light and medium roasts work well in pour-over because they have brighter, more complex flavors that come through cleanly in a slow extraction. Dark roasts hold up better in immersion methods like a French press, where the bolder oils have more time to develop.
Chilled Iguana Coffee Co. offers a wide range of fresh-roasted, ethically sourced beans that fit every brewing method. The Florida Keys Blend is a natural match for hammock campers. It's inspired by the laid-back Keys vibe and carries that same energy into a morning cup in the trees. The Cowboy Blend is a smart pick for French press or immersion brewing on longer overnight trips. Both are $16.99 per bag, which is competitive for specialty-roasted beans shipped directly to your door.
If you're not sure where to start, the Best Sellers Sample Pack at $22.99 includes six different roasts. Try them all at home first, then pack your favorite for the trail. Pre-trip tasting is the easiest way to avoid a bad cup at sunrise when there's no coffee shop backup plan.
Store your trail portion in a small zip-top bag squeezed of air, or in a pocket-size airtight container. Weight from packaging adds up fast. Leave the retail bag at home.
Step 4: Grind Smart , Manual Grinders That Won't Weigh You Down
A manual grinder is the one piece of gear that separates a good trail cup from a flat, stale one. Electric grinders stay home. What you want is a compact hand grinder that fits in a side pocket and doesn't punish your wrist on cold mornings.
Two grinders come up consistently in the research for travel coffee kits: the 1Zpresso Q2 and the Timemore Slim. Both are manual, both produce a consistent grind, and both are compact enough for a hammock pack. The 1Zpresso Q2 is known for grinding speed and durability. The Timemore Slim is slightly lighter and has a clean, minimal design. Either one works well with a pour-over dripper.
When choosing a manual grinder for trail use, look for a few things. First, a ceramic burr rather than a blade. Ceramic holds its edge longer and doesn't transfer heat to the grounds during grinding. Then check the body material. Stainless steel or aluminum bodies handle drops better than plastic. Once you know the weight, compare it against your total kit budget.
Grind size matters too. For pour-over, you want medium-coarse, similar to kosher salt. For a French press or the ESPRO travel press, go coarser. For an AeroPress, medium-fine. Get familiar with your grinder's click settings before you leave home. Dialing in at the trailhead wastes time and coffee.
If you're on a weight-obsessed ultralight build and have to choose between the grinder and something else, skip the grinder and bring pre-ground. A stale-ish cup at camp still beats no coffee. But for trips of three days or more, the grinder earns its weight every morning.
Pair whatever grinder you bring with a solid bean. Chilled Iguana Coffee Co.'s roasts are dialed for flavor right out of the bag, which means even a slightly inconsistent grind still produces a decent cup. That's a real advantage in a camp setting where you don't have the time or tools for precision.
Step 5: Pack Your Gear Using the Hammock Traveler's Coffee Kit Checklist
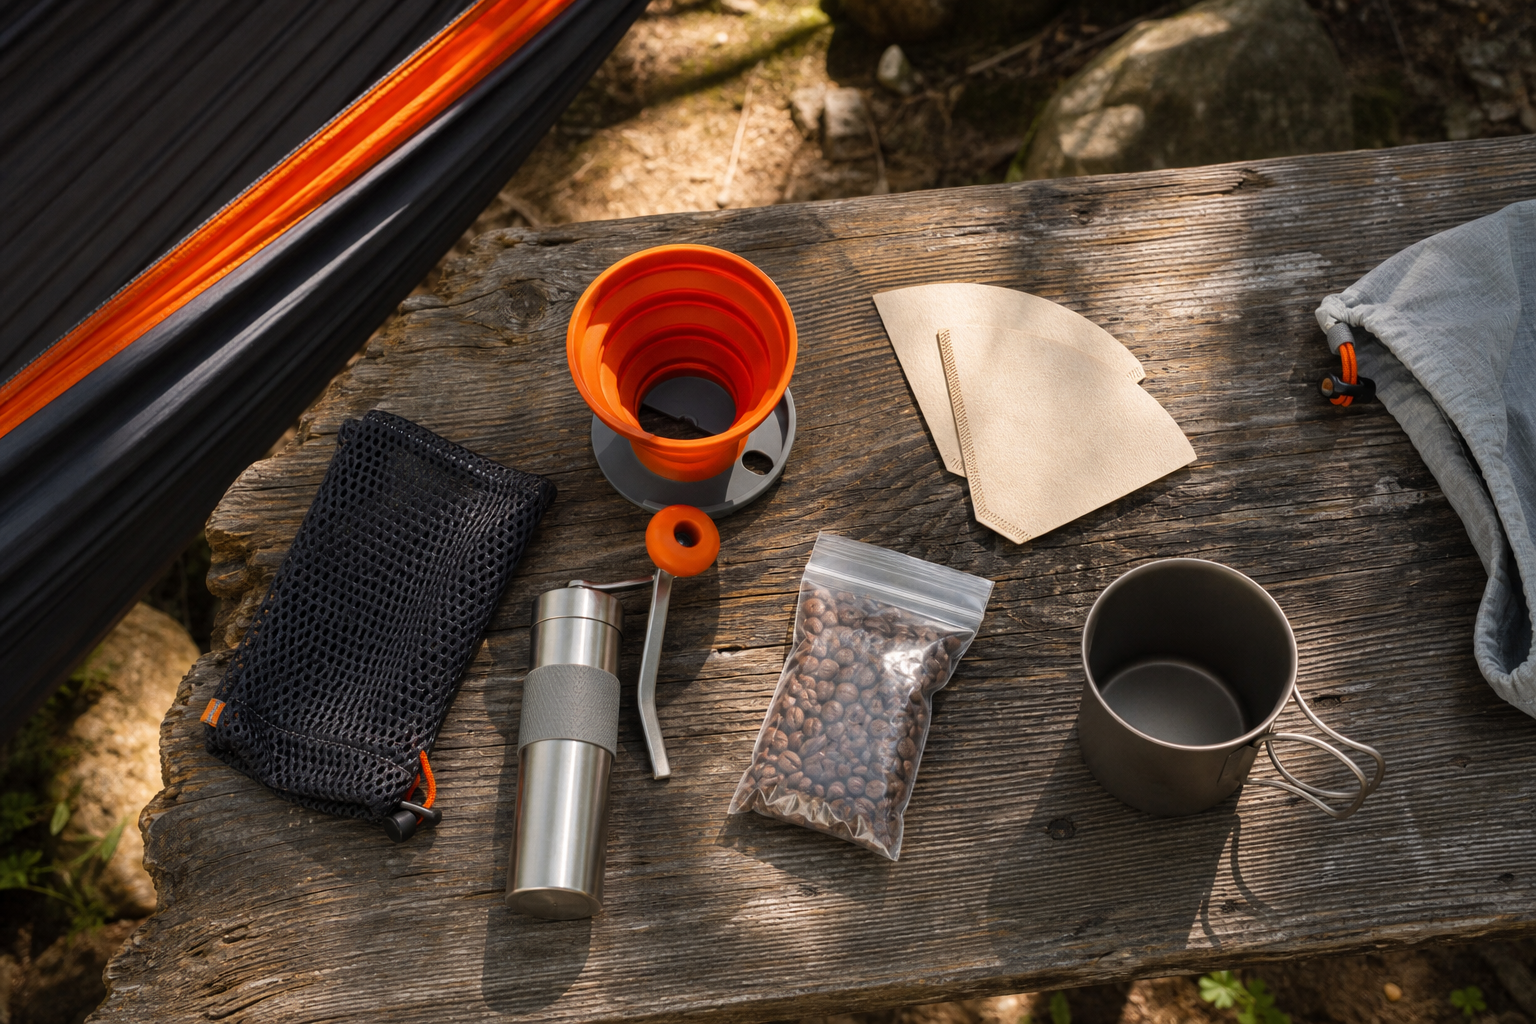
By this step, you've set your weight budget, picked your brew method, chosen your beans, and sorted your grinder situation. Now you pack it all together and check it against a real list before the bag closes.
Here's a complete kit checklist for hammock travelers. Each item has a weight note so you can cross-reference against your budget.
- Brewing device(pour-over dripper, AeroPress, or travel press) , 11g to 326g depending on choice
- Paper filters or reusable filter, 5-10g for a small stack of paper filters; 0g extra if your device has a built-in filter
- Manual grinder, skip if bringing pre-ground; otherwise 200-300g typical
- Pre-portioned coffee beans or grounds, 15-20g per cup, packed in a zip-top bag
- Titanium or ultralight cup, 60-80g for most titanium single-wall mugs
- Small silicone lid or cover, 10-15g; keeps debris out while brewing
- Tiny spoon or stir stick, 5-10g
Total for a pour-over setup with no grinder: roughly 100-130g. Add a manual grinder and you're at 300-430g. That's well within a sensible coffee allocation for most hammock packs.
One thing people forget: used coffee grounds. Pack a small zip-top bag for spent grounds. Leave no trace applies to coffee waste too. Don't scatter grounds around your camp, especially near water sources. Packing out food waste including grounds is standard practice in most backcountry areas.
If you're heading somewhere warm and the trip allows for it, cold brew is worth considering for beach-adjacent hammock spots. Chilled Iguana Coffee Co. offers a dedicated cold brew roast designed for cold extraction. Mix it with cold water in a sealed bottle the night before you leave, and it's ready to drink by the time you reach camp. No heat source needed, no brewer to pack. For budget-minded travelers who want to cut gear costs, cold brew bags are one of the simplest ways to drop both weight and kit complexity.
Do a dry run at home. Lay everything out on a table, weigh the full kit, then pack it into its designated pouch in your bag. Make sure the pouch opens easily with one hand. At 6am in a hammock, fumbling with a complicated coffee bag ruins the ritual.
FAQ
What is the lightest coffee brewing option for hammock camping?
The lightest option is the GSI Outdoors Ultralight Java Drip at 0.4 oz (about 11 grams) and $11. It's a simple pour-over dripper that sits on your cup. For even less gear, single-serve coffee pouches like the KUJU Coffee Pocket Pourover weigh about 3 oz for a small kit and need nothing except hot water. Either keeps your coffee setup well under 100 grams.
Should I bring whole beans or pre-ground coffee for a hammock trip?
Bring pre-ground for trips of one to two nights. The freshness difference is minimal over that timeframe, and skipping the grinder saves 200-300 grams. For three or more nights, whole beans stay fresher and a manual grinder is worth the weight. Chilled Iguana Coffee Co. beans grind well across roast levels, so pick the roast that matches your brew method.
Is espresso gear worth the weight for trail camping?
Usually not. Espresso devices are the heaviest category in lightweight coffee gear, and most options weigh between 300 and 670 grams before you add water or beans. That's more than your hammock sleep system in some ultralight setups. Unless espresso is non-negotiable for you, a pour-over or AeroPress delivers strong, satisfying coffee at a fraction of the weight penalty.
How much coffee should I pack per day on a hammock trip?
Plan on 15-20 grams of coffee per cup per person per day. One cup a morning for a three-day solo trip means roughly 45-60 grams of beans. Pre-portion into a small zip-top bag before you leave. This keeps you from overpacking and removes the need to carry the retail bag, which is both bulky and not airtight once opened.
Can I use cold brew for hammock camping?
Yes, and it's one of the smartest options for warm-weather trips. Mix coarse-ground coffee with cold water in a sealed bottle at a 1:8 ratio the night before, and it's ready to drink by morning. No brewer, no heat source, no extra gear. Chilled Iguana Coffee Co. has a roast made for cold brew extraction that works well this way.
What's a realistic total weight for a complete hammock coffee kit?
A pour-over dripper, paper filters, pre-portioned grounds, and a titanium cup adds up to roughly 100-130 grams. Add a manual grinder and you're in the 300-430 gram range. Most hammock campers target under 300 grams for the full coffee setup. Choosing a dripper over an espresso device is the single biggest weight decision you can make.
Conclusion
The best hammock camp coffee kit is a simple one: a lightweight pour-over dripper, fresh beans, and a clear weight budget before you pack. Skip the espresso gear, pre-portion your coffee, and do a full kit weigh-in before your first trip. Start with Chilled Iguana Coffee Co.'s Best Sellers Sample Pack to find the roast you want before you're making that decision at a trailhead. Pick one, pack smart, and the first cup in a hammock takes care of the rest.