



Living in a place where the air feels sticky can ruin even the best beans. Moisture sneaks into bags, makes beans go stale, and turns that fresh aroma into a dull taste. You don’t need a lab to fight the humidity – just a few simple habits.
First, keep beans away from any open container. Transfer them to an airtight jar right after you open the bag. A good jar blocks moisture and keeps light out, which together slow down flavor loss. If you have a zip‑top bag, press out as much air as you can before sealing.
Second, pick a cool spot in your kitchen. A pantry shelf or a cabinet away from the stove works best. Avoid the countertop where the heat from coffee makers can raise the temperature. A stable, lower temperature helps keep the beans dry.
Third, add a desiccant packet or a small food‑grade silica pack to the jar. It pulls excess humidity away without touching the beans. Just swap it out every few weeks.
Fourth, only grind what you need. Whole beans stay fresh longer, especially in humid air. When you grind, the surface area grows and moisture speeds up the decay.
Need a deeper dive into the basics? Check out How to Store Coffee Beans for Freshness: Practical Tips for Long‑Lasting Flavor for a full rundown of containers, light protection, and daily handling tricks.
And if you’re tweaking your website while you perfect your coffee stash, you might wonder how tools can help you stay on top of SEO. How to Choose and Use an AI SEO Audit Tool in 2026 walks you through picking the right audit software and getting the most out of it.
Put these steps together, and you’ll keep your beans tasting bright even when the weather tries to sap the flavor. Your morning cup will stay bold, fragrant, and ready to power through the day.
Step 1: Assess Your Kitchen’s Humidity Levels
First thing you need to know is how wet the air feels where you keep your beans. A dry spot keeps flavor bright, a muggy spot makes them go stale fast.
Grab a cheap hygrometer – those little digital stickers you can stick on a cabinet door. They read the percent of moisture in the air. Aim for 30‑40% in a kitchen that holds coffee.
If you don’t have a gauge, do a quick feel test. Open the jar, take a sniff and a tiny sip of water from a spoon. If the air feels cool and the spoon stays dry, you’re probably in a safe range. If the spoon beads up, the humidity is too high.
Next, look at where you store the jar. Near a dishwasher or a window that sweats in the afternoon? Move it to a pantry shelf or a cabinet that stays shut. A spot away from steam and heat holds a steadier level.
For folks who can’t control the house humidity, a small tabletop dehumidifier or a silica gel pack in the jar does the trick. Swap the pack every few weeks – you’ll see the hygrometer drop.
Finally, make a habit of checking the reading once a week. Write the number on a sticky note and adjust the location if it climbs above 45%. Knowing the exact level lets you keep your beans fresh, no matter how humid the Florida Keys feel outside.
Step 2: Choose Proper Airtight Storage Containers
Now that you know how damp your kitchen is, the next move is to lock out that moisture. The right container is the first line of defense against stale beans.
Look for jars with a rubber seal or a clamp‑top lid that squeezes shut. Glass works great because it won’t let air sneak in, and you can see the beans at a glance. If you prefer something lighter, a food‑grade stainless‑steel can is also airtight and won’t absorb smells.
Size matters, too. Pick a jar that holds just enough beans for a week or two. A half‑gallon jar can sit empty for months, giving the beans extra room to breathe – and that’s the opposite of what you want.
For families or coffee‑shop owners who buy in bulk, a larger, airtight container paired with smaller “daily” jars can keep the big batch safe while you only open what you need. That way you avoid pulling fresh beans into a humid environment every time you restock.
One practical tip: place a small food‑grade silica‑gel packet in the lid compartment. It pulls stray moisture without touching the beans. Just swap it out every few weeks.
Need more detail on buying the right container while you stock up on beans? Check out this guide on buying bulk coffee beans online – it walks you through container choices that work best in humid climates.
Step 3: Use Moisture‑Control Packs and Desiccants
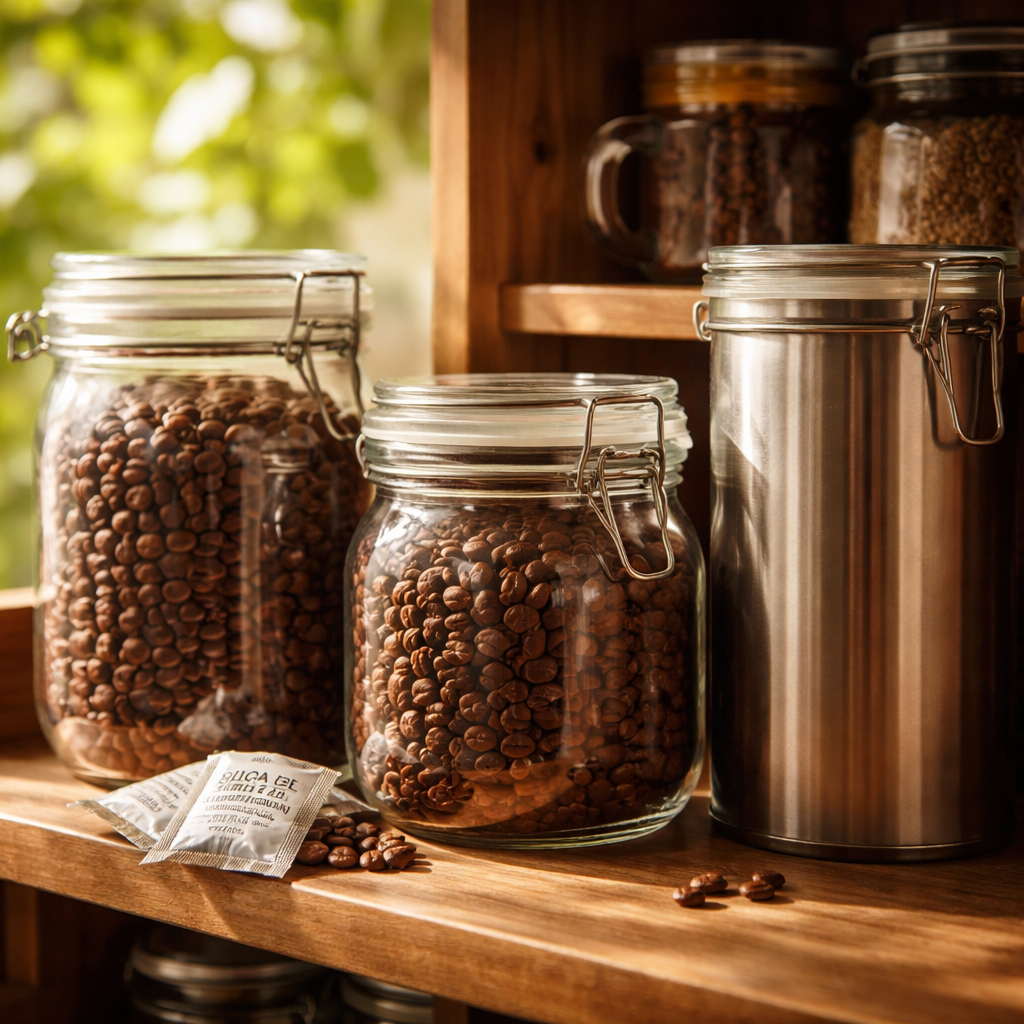
Now that your beans sit in a tight jar, the next thing to watch is any stray humidity that slips past the seal. A tiny pack of silica‑gel or a clay desiccant can pull that moisture away before it reaches the beans.
Food‑grade silica‑gel packets are cheap, odorless, and work at room temperature. Drop one into the lid compartment or tuck it under the rim so it never touches the beans. When the beads turn pink or lose their sparkle, swap it for a fresh one.
Clay desiccant packets are another low‑cost choice. They absorb moisture through tiny pores and stay dry for weeks. Just keep the packet in a small mesh pouch inside the jar so air can flow around it.
If you brew a lot or store beans for months, a calcium‑chloride sachet can handle higher humidity levels. These packs get a bit wet as they work, so replace them when you see clumps or a salty taste.
A quick tip: label each pack with the date you put it in. That way you’ll know when it’s time to swap without guessing. And remember, the pack never touches the beans – it only draws the air dry.
For busy households or coffee‑shop owners, buying pre‑filled desiccant packs in bulk saves time. You can slip one into each daily jar, and the whole system stays dry even when the kitchen humidity spikes after a shower. Pair this with a cheap hygrometer and you’ll have a simple, low‑tech defense against stale beans. You can also explore our coffee collection for beans that already come in moisture‑controlled bags.
Step 4: Store in a Cool, Dark Location
Even if you’ve sealed the jar and added a desiccant, heat and light will still steal the bean’s bright taste. The last line of defense is a spot that stays cool and keeps the sun out.
Aim for a temperature under 70 °F (around 21 °C). Anything warmer speeds up the chemical reactions that make beans go stale. A low‑tech way to check is a cheap kitchen thermometer you can stick on the shelf.
Pick a pantry shelf or a cabinet door that’s away from the stove, the dishwasher, and any windows. The back of a pantry door works great because it’s shaded and the air is steady.
If the space gets a little light, tuck the jar inside a small cardboard box or a dark drawer. The extra layer blocks the rays that can zap flavor.
For coffee‑shop owners or busy families, a quick habit helps: write the date on a sticky note and slide it onto the jar lid. When the month flips, give the jar a quick glance to be sure the spot is still cool.
Don’t stash beans in the fridge. The temperature swings each time you open the door add moisture and can cause the beans to pick up fridge odors.
Looking for a set‑and‑forget option? Check out an organic coffee subscription that ships beans in moisture‑controlled bags, so you spend less time hunting for the right shelf.
Step 5: Maintain and Rotate Your Beans
Now your beans sit in a cool, dark spot. The next job is to keep them fresh while you use them.
First, set a reminder to check the jar every week. A quick glance tells you if the seal is still tight and if any moisture has gathered. If the lid looks foggy, swap out the desiccant packet.
Second, rotate the beans. Move the newest bag to the back of the shelf and bring the older one forward. This way you always brew the oldest beans first, before they lose flavor.
What if you buy in bulk? Split the batch into two jars. Store one jar where you brew daily, and keep the backup in a sealed container tucked away. When the first runs low, flip the jars.
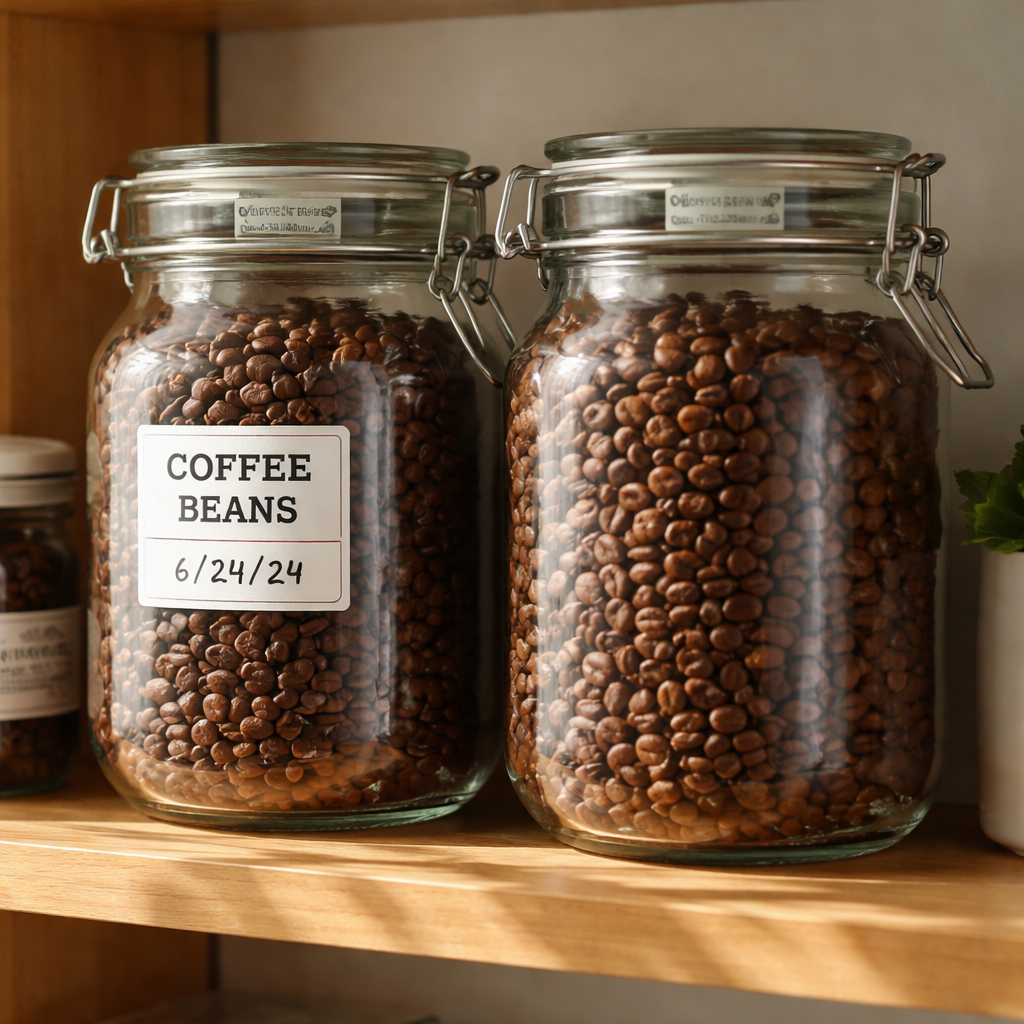
For coffee‑shop owners, label each jar with the date you opened it. A colored sticker works fast. When the date passes, you know it’s time to use or replace the beans.
Don’t forget to give the jar a gentle shake once a month. A tiny stir keeps the beans from settling and helps even out any remaining moisture.
Need more tips on protecting beans from humidity? Check out the full guide on storing coffee beans for deeper tricks.
One simple system is a coffee log. Write the bag’s roast date on a notepad and cross it off as you brew. Seeing the dates line up helps you stay on track and avoid letting beans sit too long.
In humid climates, a fresh bag can lose its bright notes in just a week, so the rotation habit saves you from tasting flat coffee.
Conclusion
Keeping coffee fresh in a humid kitchen isn’t rocket science. You’ve learned to measure moisture, seal beans tight, and chill the stash. Those habits lock in flavor.
Stick to the simple routine: check your hygrometer, swap the silica packet every two weeks, and move the jar to the coolest shelf when the temperature climbs.
A quick visual cue helps – label each jar with the roast date and give the newest bag a spot at the back. First‑in, first‑out means you always sip beans at their peak.
If you’re juggling a busy schedule, set a phone reminder for the weekly seal check. A 30‑second habit keeps the brew bright without stealing time.
Want fresh beans delivered right when you need them? A subscription from Chilled Iguana Coffee Co. drops new, sealed bags to your door, so the routine stays easy.
Stick to these steps, and your cup will stay bold, fragrant, and ready for whatever the day throws at you.
FAQ
How can I keep coffee beans fresh when my kitchen is humid?
First, move the beans to a dark glass jar or a stainless‑steel canister that has a tight screw lid. Put a small food‑grade silica packet inside the lid pocket. Keep the jar on a pantry shelf away from the stove or dishwasher. Check the hygrometer; if it reads above 60 % you may need an extra packet. Doing this each time you open a fresh bag locks in aroma and stops moisture from sneaking in.
What type of container works best in a humid climate?
A dark glass jar with a rubber gasket or a stainless‑steel canister with a push‑lock seal are the top picks. The dark glass stops light, which can speed up staling, and the metal blocks light completely. Make sure the lid clicks tight so no air slips in. If you only have a plastic tub, choose a BPA‑free, food‑grade version and replace it often.
Do moisture‑control packs really make a difference?
Yes. A small silica gel packet can absorb about five grams of water, which is enough to keep the air inside the jar dry for a couple of weeks. When the packet turns pink, it’s time to swap it out. Clay‑based packets hold a bit more water and last a month, so they’re handy if you buy beans in bulk.
How often should I check the seal and the desiccant?
Set a phone reminder for every two weeks. When the alarm goes off, open the jar, feel the lid for any dampness, and give the silica packet a quick shake. If it feels warm or the colour has changed, replace it. A quick visual check takes less than a minute and keeps the beans bright. Doing this twice a month stops moisture from building up and keeps the aroma sharp for every cup.
Can I store coffee beans in the fridge or freezer?
Freezing can work if you seal the beans in a vacuum‑locked bag and only take out a small amount at a time. The fridge is trickier because the door opens often, letting moisture in. For most home users, a cool, dark pantry spot with a good seal is simpler and keeps flavor stable. If you do freeze, let the beans come to room temperature before grinding to avoid condensation on the grounds.
What’s an easy routine for busy people?
When you bring a new bag home, pour the beans into your jar, add a fresh silica packet, and label the jar with the roast date. Snap a photo of the jar on the shelf and set a weekly reminder on your phone. A 30‑second check each Sunday keeps everything fresh without stealing time. You’ll see the beans stay aromatic longer, and the habit fits right into a busy schedule.