



Picture this: sunrise, a gentle sway, and the aroma of fresh coffee drifting through the trees. It’s not a dream , you can brew a great cup while lounging in a hammock. Below is the exact process to pull it off, from picking a method to cleaning up.
Step 1: Choose a Hammock‑Friendly Brewing Method
Portability matters when you’re hanging between two trees. A lightweight press that tolerates a bit of movement is ideal. The AeroPress Go fits the bill: it’s compact, has its own filter, and can brew in under two minutes. Its metal body resists the occasional bump, and the paper filter keeps grounds from escaping onto your hammock.
If you prefer a slower extraction, a pour‑over using a Hario V60 works well. You just need the V60 and paper filters; the setup folds compactly for transport and stays stable on a small camping table. For a truly hands‑free option, Cowboy coffee using a simple pot and a heat source lets the brew steep while you relax.
When choosing, think about how much coffee you need and how much gear you’re willing to carry. A single‑serve AeroPress Go is perfect for one or two cups, while a pour‑over can handle a small group without adding much weight.
Step 2: Pack Essential Gear
Beyond the brewer, you need a few basics: a reliable heat source and a suitable container for hot water. A compact stove or burner can bring water to a boil quickly, and a lightweight, durable vessel will let you carry hot water on demand.
Don’t forget a sturdy mug. It keeps your coffee warm and protects your hands from the heat.
Pack a small utensil and any filter required for your chosen brewing method. Keep everything in a waterproof bag to avoid moisture damage, especially if you’re camping in damp conditions.
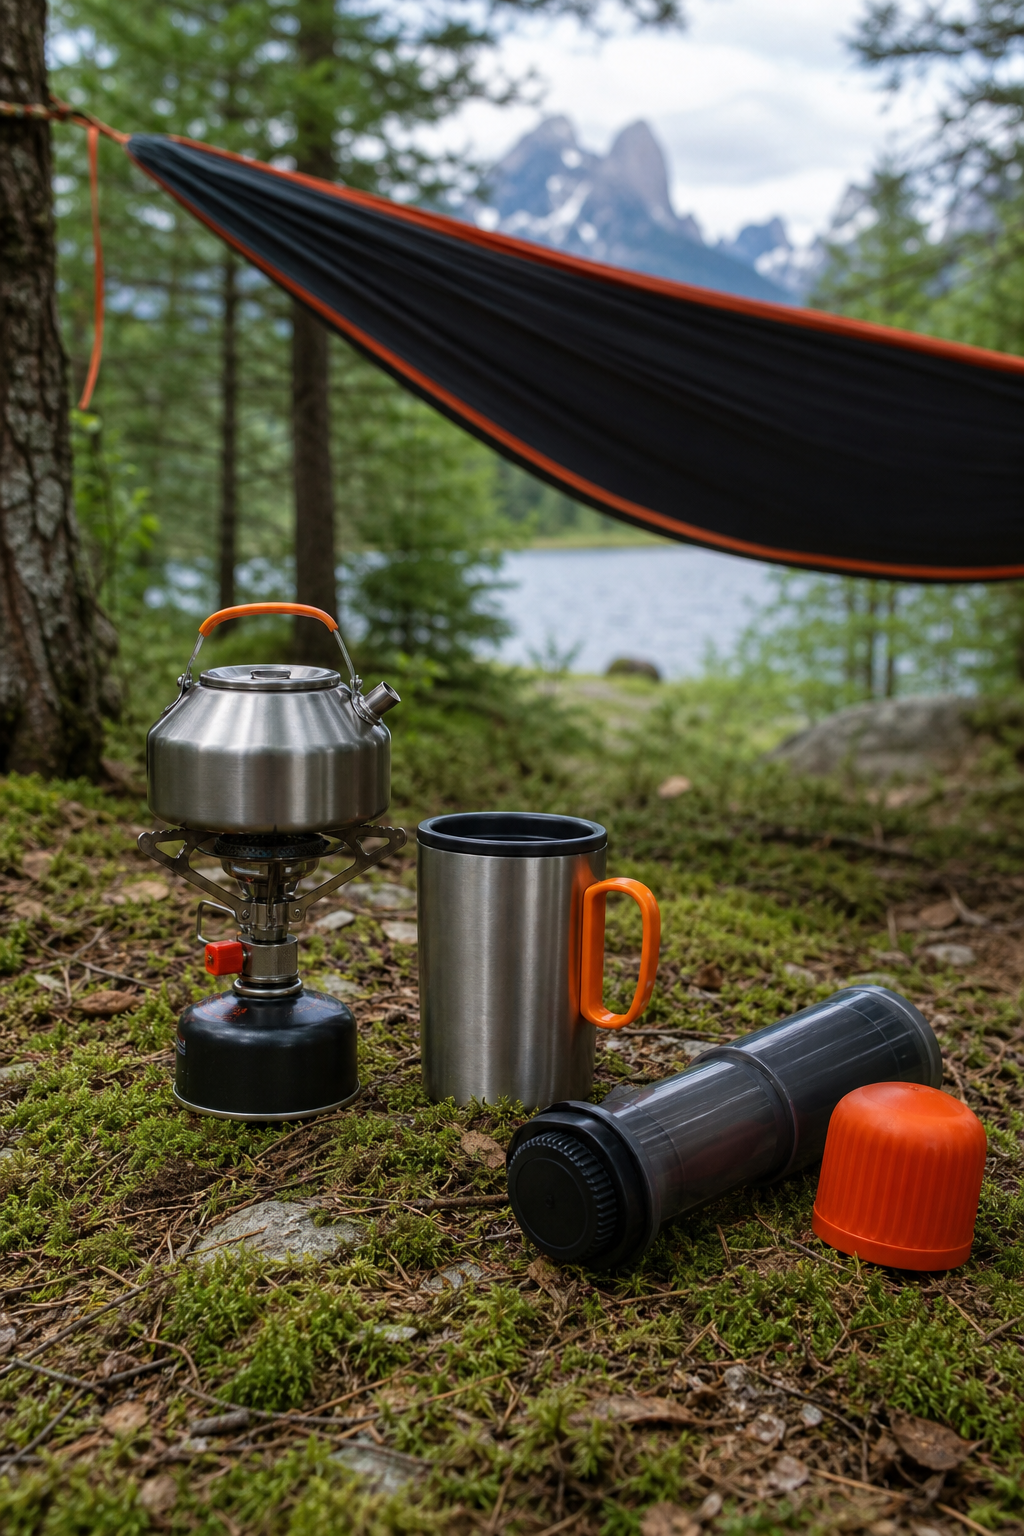
Finally, bring a small roll of trash bag to collect used grounds and filters. Leaving no trace is part of the outdoor ethic.
Step 3: Secure Your Hammock and Create a Stable Brewing Station
Find two sturdy trees about 12‑15 feet apart. Use tree straps rather than rope to protect the bark. Slip the straps over the branches, attach the hammock’s carabiners, and tension it so it hangs level. A slight dip in the middle makes it comfortable to sit upright while you brew.
Set up a simple shelter or a portable flat surface underneath the hammock. This shelter protects your equipment from wind and rain, while the surface provides a stable area for the kettle and brewer. If space is limited, you can use a compact mat as a makeshift counter.
Check that the area around the kettle is clear of dry leaves or flammable material. Safety first, a small fire can quickly become a big problem.
Step 4: Brew the Perfect Coffee
Heat water to just below boiling, around 200°F (93°C) is ideal for most methods. If you’re using the AeroPress Go, pour the hot water over the grounds, stir for 10 seconds, then press slowly. The result is a smooth, bright cup that highlights the beans’ natural flavors.
For a cold‑brew style while you relax, a common cold‑brew ratio is 1:5 coffee‑to‑water, steeped in a sealed bottle for 12‑24 hours. Bring the bottle into the hammock, pour over ice, and enjoy a refreshing brew without any extra heat source.
If you prefer a classic French press, add coarse grounds, pour hot water, let steep for four minutes, then press. The metal press holds up well on a stable surface, and the full‑body cup is perfect for chilly mornings.
Adjust the coffee‑to‑water ratio to match your taste. A good starting point is 1 gram of coffee per 16 grams of water for pour‑over, and 1:5 for cold brew. Taste, then tweak.

Step 5: Serve, Savor, and Clean Up
Pour the coffee into a mug. The insulated Cold Brew guide from Chilled Iguana shows how a good mug keeps the drink hot for hours, letting you linger in the hammock without rushing.
Savor the flavor while the hammock rocks gently. Take a moment to notice the aroma, the temperature, and the view around you. This pause is the real reward of outdoor coffee.
When you’re done, clean the equipment right away. Rinse the AeroPress or French press with warm water, wipe the kettle dry, and pack all gear back into your storage bag. A quick rinse prevents coffee oils from building up, which can make future brews taste bitter.
Dispose of grounds in a bag or pack them out for later use as compost. Leaving no trace keeps the campsite pristine for the next adventurer.
FAQ
Can I use any coffee beans for hammock brewing?
Yes, any beans work, but medium‑roast beans tend to shine in most portable methods because they balance acidity and body without needing precise temperature control.
Do I need a flat surface to brew in a hammock?
A stable surface makes pouring and pressing easier, but a flat area can suffice if space is limited.
How much water should I bring for one cup?
About 250 ml (8 oz) of water per cup is standard; bring a little extra to account for heat loss or spillage.
Is it safe to use a propane stove under a tarp?
Yes, as long as the portable stove is a safe distance from the flame and you keep the area clear of flammable debris.
What’s the best way to clean an AeroPress after camping?
Rinse the chamber with warm water, wipe the rubber seal, and let it air‑dry. A quick clean prevents residue from affecting flavor on future brews.
Conclusion
Pick a compact brewer, pack light gear, secure a stable spot, and follow the steps above for a hassle‑free cup. Grab your hammock, brew a fresh mug, and enjoy the serenity of the outdoors.
Ready to put this into practice? Chilled Iguana Coffee Co. was built for exactly this.