



Ever pulled over at a rest stop, brewed a cup from beans you packed at home, and got something that tastes flat and lifeless? You're not alone. Road trips wreck most coffee beans because of heat, oxygen, and time. The fix is a system: start with the right beans, store them right, and brew smart on the road. Here's exactly how to do it.
Step 1: Choose Fresh, Whole Beans
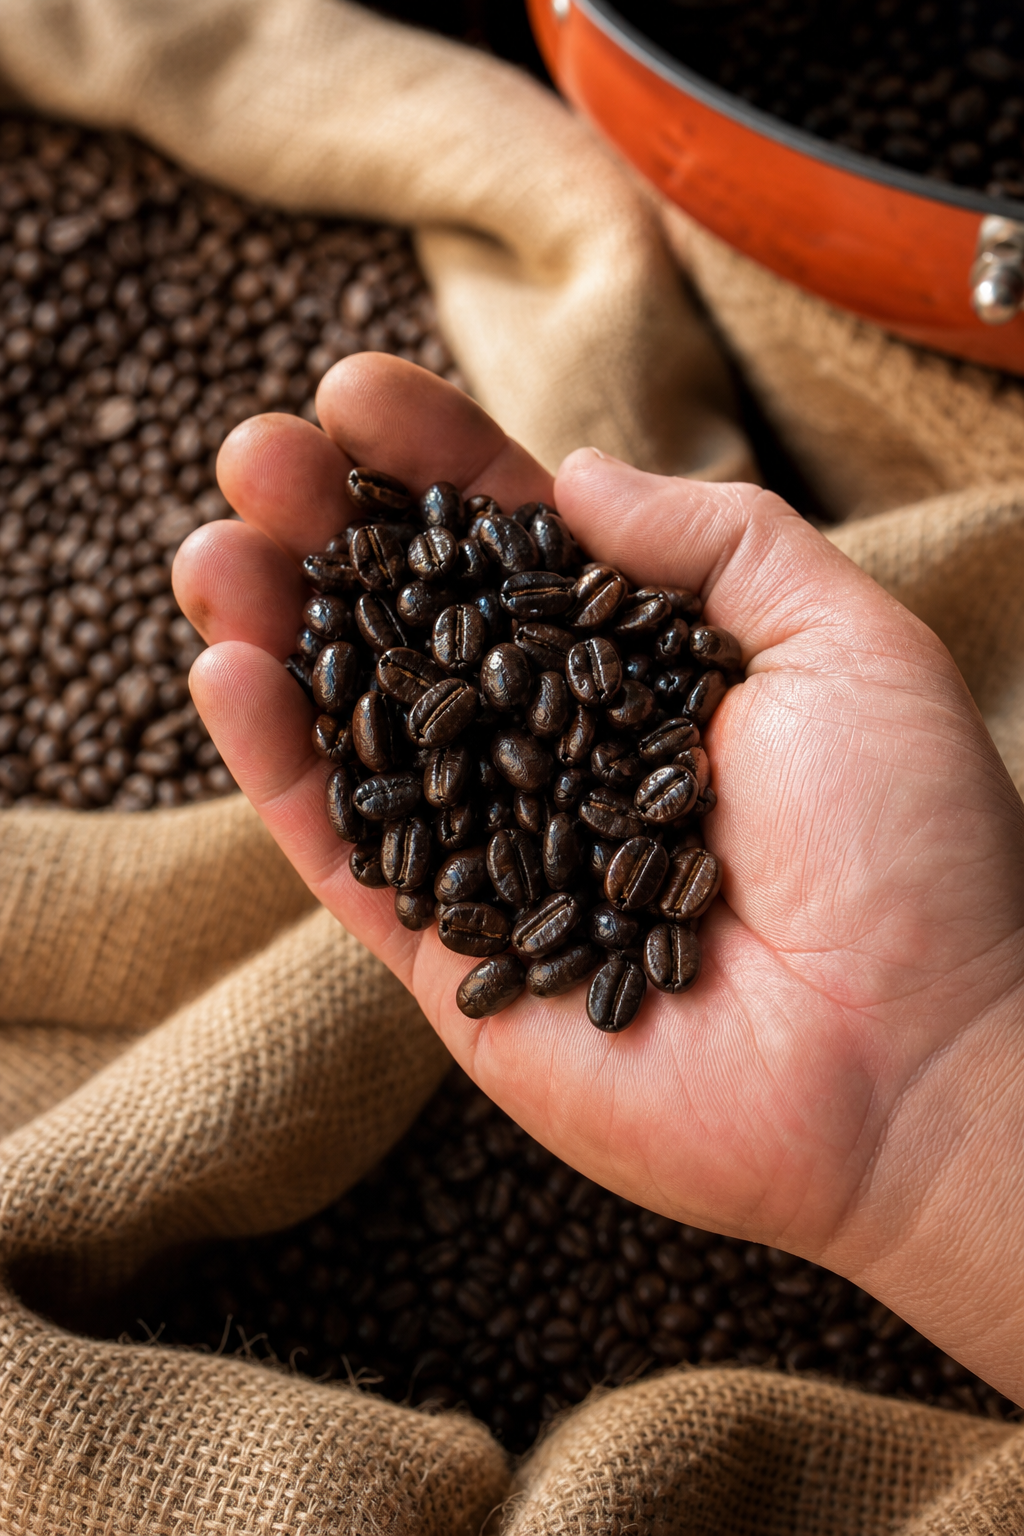
Everything starts with what you buy. If the beans were already stale when you left home, no storage trick will save them. For road trips, you want beans that are both fresh-roasted and processed in a way that survives days in a suitcase.
Chilled Iguana Coffee Co. roasts to order, so every bag is at its peak when it ships. But even fresh-roasted beans need protection from oxygen. A lesser-known method called nitrogen flushing swaps the oxygen in the bag for nitrogen gas, slowing staling dramatically. That makes nitrogen-flushed beans the ideal choice for a multi-week road trip.
If you can find whole beans packaged with nitrogen flush , like Seven Miles Coffee , grab them. Otherwise, buy whole beans from a roaster you trust and use them within two weeks of the roast date. Pre-ground coffee loses flavor faster, so stick with whole beans and grind on the road.
Step 2: Store Beans in Airtight Containers
Once you have fresh beans, the enemy is oxygen, heat, and moisture. On a road trip, temperatures inside a car can hit 130°F. That's a bean's worst nightmare. The right container buys you days of freshness.
A vacuum-sealed container is best. Mason jars with one-way valves work, but they let air in when you open them. A better option is a stainless-steel canister with a tight silicone seal. Avoid clear glass if it sits in sunlight , light speeds up staling.
Some travelers swear by the vacuum-sealing method using a handheld pump like the FoodSaver. That works great, but the pump adds weight. For road trips, a simple airtight jar is enough if you keep it in a cooler bag. The cooler bag buffer against temperature swings and adds an extra layer of protection.
Here's a quick comparison of common storage methods:
Pro tip: divide your beans into smaller bags or containers , one per week on the road. That way you only open what you need.
Step 3: Pack Essential Brewing Gear
Good beans only taste good if you can brew them right. Pack a setup that's compact, durable, and easy to clean without running water.
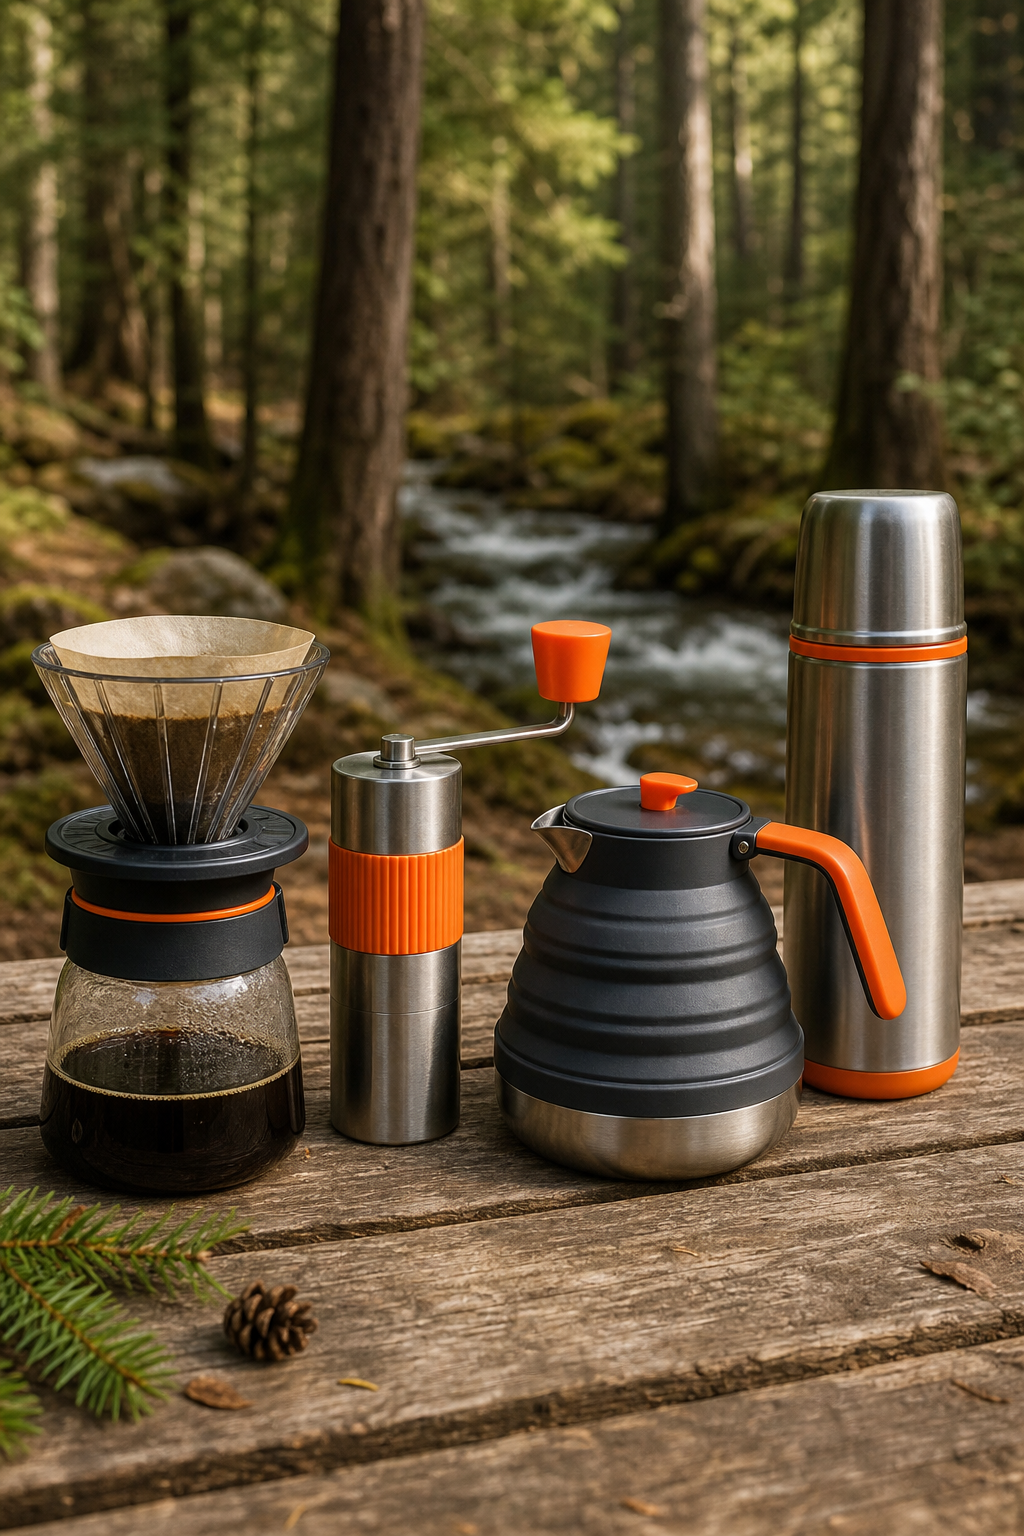
Here's a minimal kit that fits in a backpack pocket:
- Hand grinder: A ceramic-burr hand grinder with adjustable settings for consistent, fresh-ground coffee. Grind fresh right before each brew.
- Brewer: A portable brewer is the road-trip essential — light, fast, and makes great coffee. A stainless French press works well too but weighs more.
- Kettle: A collapsible silicone kettle or a small camp stove with a pot for boiling water.
- Mug: An insulated double-wall mug keeps coffee hot for hours.
Don't forget a scoop, a stirring spoon, and a small filter bag for used coffee grounds. That last one matters for Step 5.
Step 4: Master On-the-Road Brewing Methods
You have the beans and gear. Now use a method that handles road conditions well.
Cold brew is a great choice for road trips: make a concentrate the night before, pour it over ice in the morning. The concentrate lasts about a week in a cooler. It's less acidic and doesn't need hot water. for ratios, basically 1:4 coffee to water steeped 12-24 hours.
Pour-over works if you have a steady hand and a gooseneck kettle, but it's fiddly in wind. A portable espresso maker is more forgiving and takes under two minutes. For French press, you need coarse grind and a minute steep.
When hiking far from the car, instant coffee is a fallback. But high-quality single-serve pour-over sachets packed with fresh grounds are a better compromise. Just add hot water.
One issue on mountain roads: altitude affects water boiling point. At higher elevations, water boils at a lower temperature, which can lead to under-extraction. Compensate by grinding a bit finer or steeping a minute longer.
Step 5: Adapt to Conditions and Reduce Waste
Road trips throw temperature swings, humidity, and cramped space at your coffee stash. A few adjustments keep things running smoothly.
If you notice condensation inside your bean container, transfer the beans to a dry jar immediately. Moisture invites mold. Stick a few silica gel packets inside your container to absorb humidity.
For packing, put your coffee gear in a dry bag inside your luggage. That keeps it away from leaks and spills. And after each brew, rinse your gear with clean water and dry it before packing. Wet gear grows funky smells fast.
Now about waste: used coffee grounds don't have to go in a trash bag. As one YouTube creator from the channel Woodsbound Outdoors demonstrated, dried coffee grounds can be burned as a natural mosquito repellent. Just dry the grounds, pile them on a rock, and light the top. The smoke keeps bugs away for hours without DEET.
Another idea: scattered cool, dry grounds can deodorize a car's trunk or tent. If you ran out of scrub pads, coffee grounds mixed with a little water work as a gentle abrasive to clean camping cookware.
Before you leave, plan ahead. A guide on negotiating car add-on costs can help you save money at the dealership, which leaves more budget for quality beans. And choosing a vehicle with good trunk space and climate control , check car comparisons , makes it easier to keep your coffee gear organized and cool.
FAQ
How long do coffee beans stay fresh on a road trip?
If you start with nitrogen-flushed beans in an airtight container kept away from heat, they can stay fresh up to eight weeks. For beans in a standard bag or jar, plan to use them within two weeks. The biggest factors are temperature and how often you open the container.
Can I freeze coffee beans for a road trip?
Yes, but only if you freeze them in small, airtight portions before leaving. Freezing slows stale, but each thaw cycle introduces moisture. Portion beans per day into separate bags, freeze them, and let each portion thaw completely before opening to avoid condensation. Never refreeze.
What's the best portable coffee maker for road trips?
For most travelers, a compact coffee maker offers the best balance of weight, speed, and coffee quality. It makes one to three cups, cleans in seconds, and packs flat. A stainless French press is more durable but heavier. For cold brew lovers, a Mason jar works as both steeping vessel and server.
Does altitude affect how coffee tastes on the road?
Yes. Higher altitude lowers the boiling point of water, which means you extract less from the grounds. Compensate by grinding a little finer, using hotter water (just off boil), or steeping longer. Also, your taste buds adjust at altitude , some flavors taste blunter, so a slightly stronger brew often tastes right.
How do I keep coffee beans from getting stale in a hot car?
Keep your container in a cooler bag with an ice pack. If that's not possible, park in the shade, or stash the coffee in a vacuum flask inside your bag. Avoid leaving beans in direct sunlight. A double-wall stainless steel canister helps insulate against heat spikes.
Conclusion
Fresh coffee on the road isn't a mystery: it's fresh beans, airtight storage, the right gear, and a brew method that fits your trip. Start with a bag of nitrogen-flushed whole beans or a roast-to-order bag from Chilled Iguana Coffee Co., pack them in a sealed container inside a cooler, and bring a portable coffee press. Your next cup from a roadside vista will taste as good as the one you left at home.