



Grind your beans and taste stale coffee? That’s the oil and residue talking. A clean grinder lets the beans shine and keeps your machine humming. In this guide you’ll learn a step‑by‑step routine to clean a coffee grinder at home, why each step matters, and how to turn cleaning into a habit that protects flavor and equipment.
Step 1: Unplug and Disassemble the Grinder
First thing , pull the plug. Power and moving parts don’t mix. Unplugging stops the motor and removes the shock risk that can cause cuts or burns. The safety guidelines for industrial grinders stress that a live machine can surprise you with a sudden spin, so the same rule applies to home units (see safety checklist).
Next, clear the work area. A tidy counter means you won’t lose tiny parts. Lay a soft towel down, then set the grinder upright. If your model has a removable hopper, twist it off . Some hoppers lock with a click; others need a gentle pull. Keep the manual handy , manufacturers often hide a tiny screw behind the hopper that you’ll need later.
Now open the housing. Most burr grinders have two main pieces: the top shell and the burr carrier. Look for a release lever or a set of screws. Use a small Phillips screwdriver if needed; don’t force anything. When you loosen the screws, note how they sit , a quick photo helps you reassemble later.
While you’re taking the grinder apart, inspect the seals and rubber gaskets. Cracks or hardening here can let moisture in later, which can rust metal parts. If a gasket feels brittle, replace it before you finish cleaning. This small step can save you a costly repair down the line.
Finally, set the disassembled parts on the towel in the order you’ll need them. Keep the motor housing separate from the burrs , the motor stays dry, while the burrs will get the deep clean they deserve.
Step 2: Remove Loose Grounds and Debris
With the grinder open, a quick brush can whisk away most of the loose coffee. A natural‑bristle brush works well; its soft fibers sweep out the corners without scratching metal. The brush you can buy on Amazon is praised for this exact job (product page), though we’ll just use the idea of a stiff brush here.
Turn the hopper upside down and give it a gentle tap. Gravity will drop any stray grounds that are stuck in the chute. Then, use the brush to sweep the interior of the hopper, the grind chamber, and the burr carrier. Pay special attention to the teeth of the burrs , coffee can lodge in the tiny gaps.
For stubborn crumbs, a hand‑held vacuum with a narrow nozzle does the trick. Pull the nozzle into the grind path and let the suction pull out hidden particles. Avoid using compressed air; it can push dust deeper into the mechanism, which is a common mistake highlighted in many professional guides.
Once the visible debris is gone, give the exterior a wipe with a dry microfiber cloth. This removes static‑charged fines that can cling to metal surfaces. If you notice any oily film on the outer shell, a barely damp cloth (just barely) will lift it without risking water inside the motor.
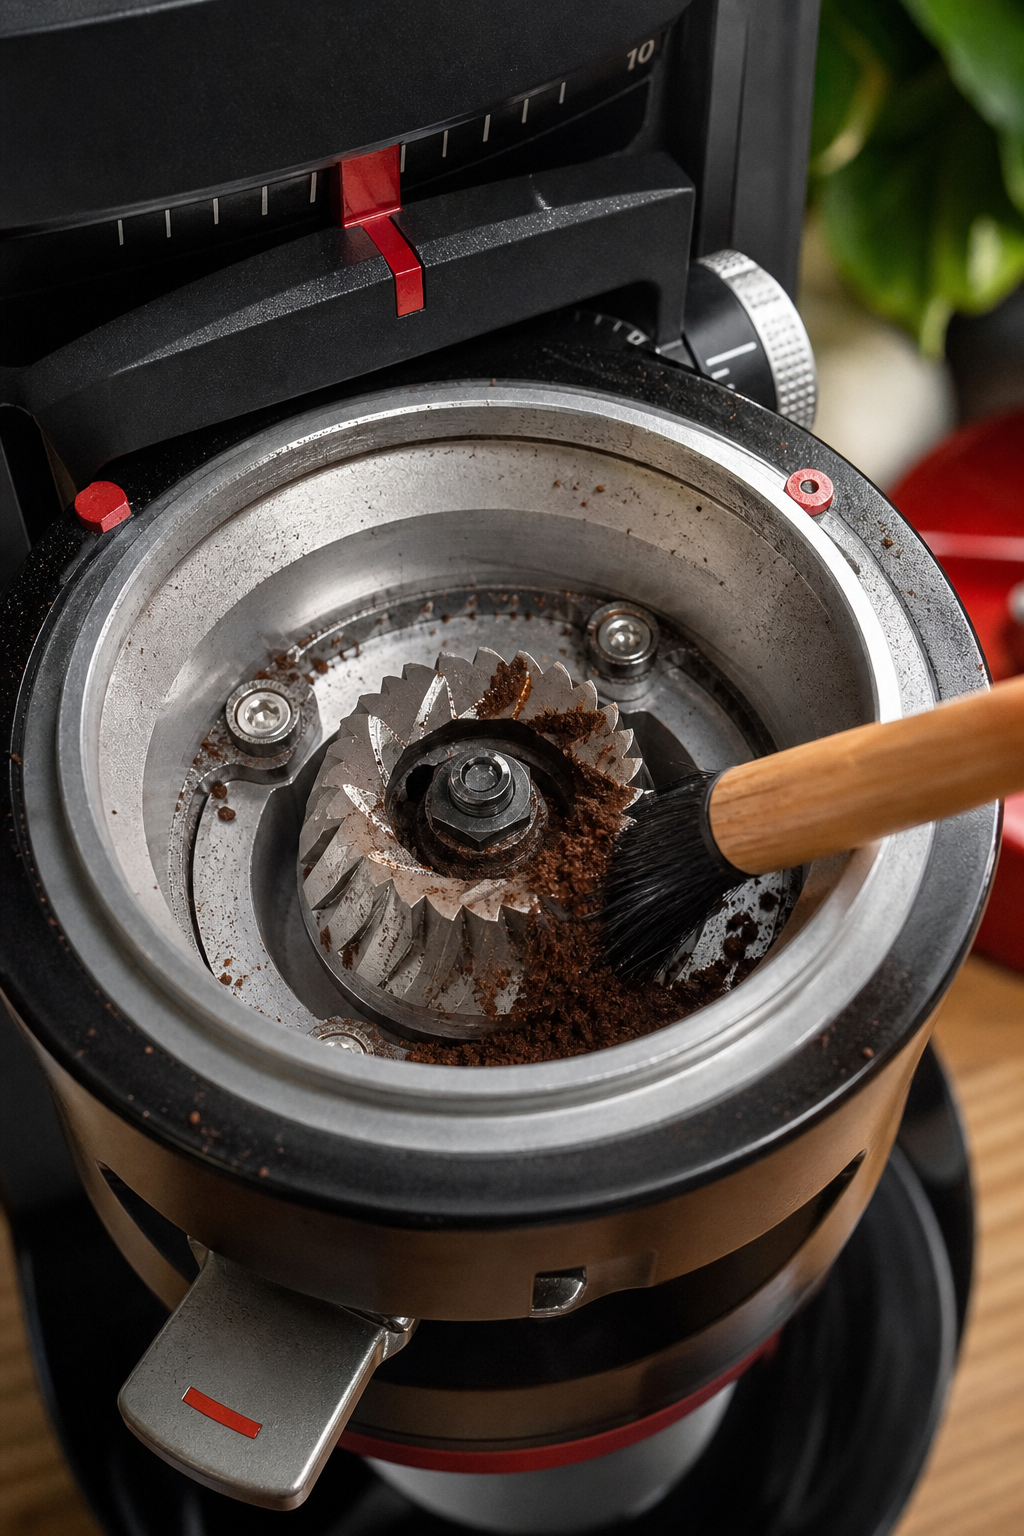
Now the grinder is ready for the deep‑clean stage. The loose‑ground removal you just did takes care of about 90 % of the visible mess, but the oil film remains hidden in the burrs.
Step 3: Deep Clean the Burrs
The burrs are the heart of your grinder. Over time, coffee oils coat them like a thin film of grease, and that film changes the flavor of every batch. A study from The New York Times notes that even weekly tablet cleaning can’t replace a monthly burr scrub for dark roasts (Wirecutter guide).
First, remove the burrs fully. Most flat‑burr models have a release lever; conical models often have a small wire handle you can pull. Lift the top burr, then the bottom one, and set them on a clean towel.
Next, choose your cleaning method. You have three safe options:
- Brush‑only: Use a nylon‑bristled brush to scrub each tooth. Work in small sections, rotating the burr so you reach every angle.
- Tablet method: Drop a Urnex Grindz tablet (or similar) into the empty hopper, set the grinder to the coarsest setting, and run it until the tablet is ground down. The tablet’s abrasive grains scour away oil without leaving residue.
- Rice method: Fill the hopper with a quarter cup of raw rice, run the grinder for 30 seconds, then discard the rice. This method is cheap but can leave starchy residue if the rice is too hard (Mahlkönig cleaning guide).
For home use, the tablet method gives the cleanest result with the least mess. After the tablet run, grind a small handful of beans to purge any remaining tablet particles.
When you’re done, let the burrs air‑dry for at least ten minutes. Moisture can cause rust on steel burrs, especially if you live in a humid climate. A dry burr will keep grinding evenly and will not introduce metallic flavors.
Once the burrs are dry, give them a quick visual check. Any remaining oil will look shiny under light. If you still see gloss, repeat the brush step until the surface looks matte.
Step 4: Clean the Exterior and Reassemble
The outside of the grinder gets splashed with fine coffee dust every day. A clean exterior not only looks good, it also prevents dust from finding its way into the motor vents.
Start with a dry microfiber cloth. Wipe the housing, the control knobs, and the power switch. If any stickiness remains, dampen the cloth just enough to feel barely moist. Avoid spraying water directly on any part , the motor cavity is vulnerable to moisture.
For the grind‑path opening, use a cotton swab dipped in a tiny drop of food‑grade cleaner. This reaches the narrow gap where the ground exits. Rotate the swab gently; don’t force it.
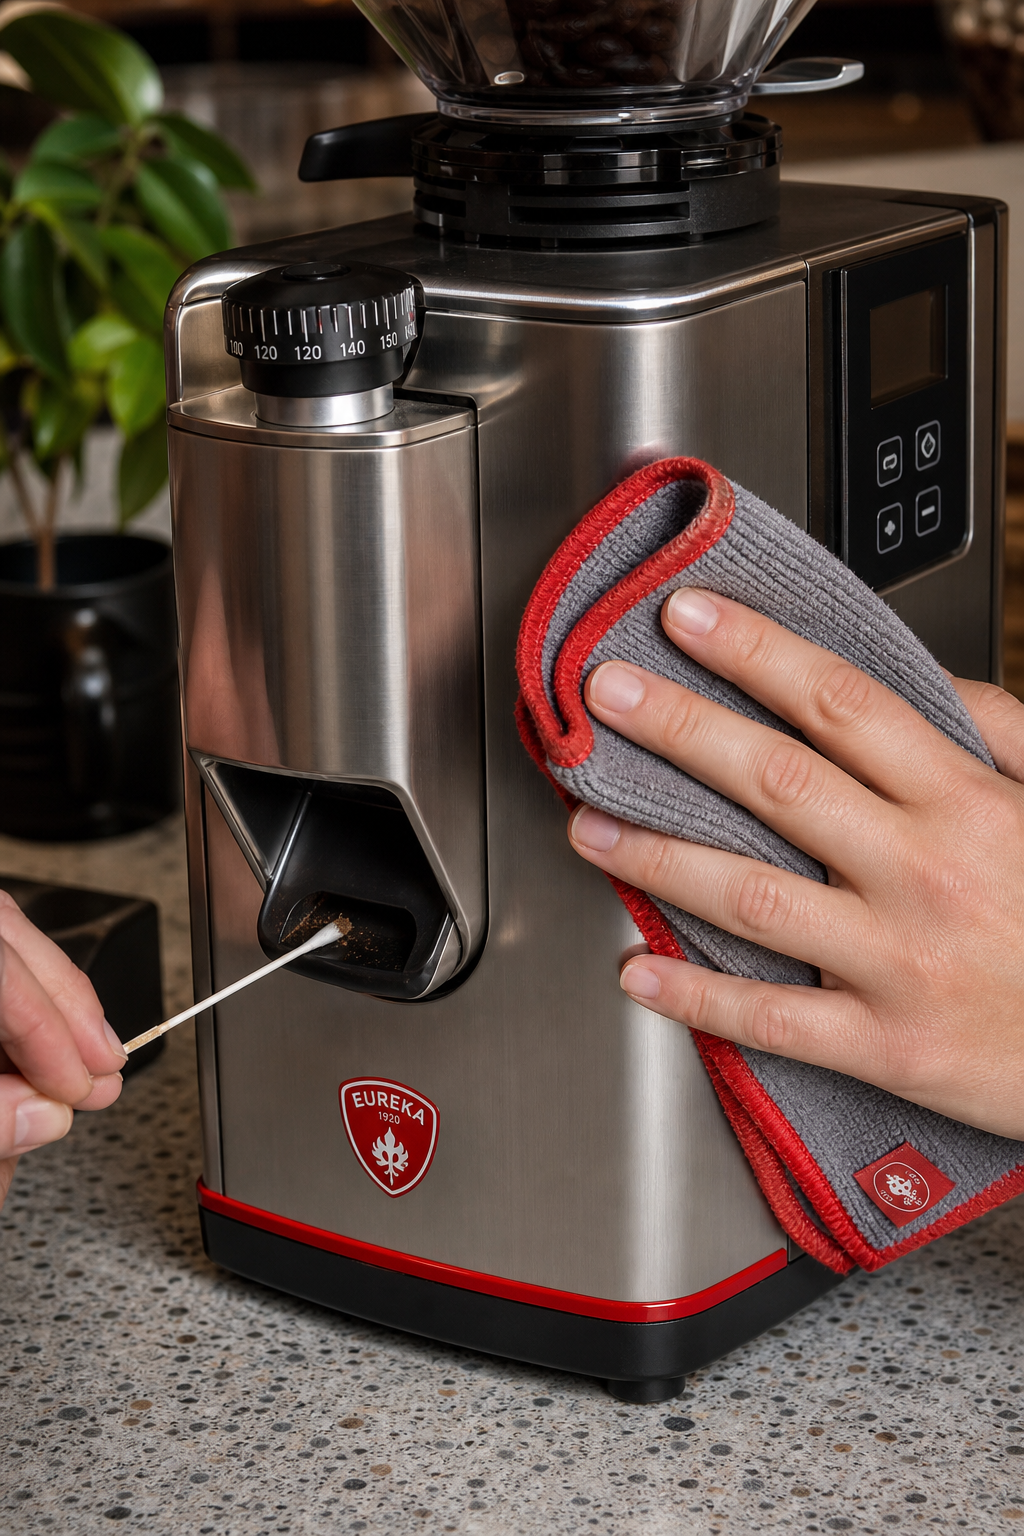
Now it’s time to put everything back together. Follow the photo you took earlier or the order you wrote down. Slide the burr carrier back into place, align the screws, and tighten them just enough to be snug. Over‑tightening can warp the housing and cause uneven grinding.
Replace the hopper, lock it, and give the whole unit one final wipe. Plug the grinder back in and run it empty for a few seconds. You should hear a clean, higher‑pitched whirr , that means the burrs spin freely without leftover debris.
"A grinder that’s cleaned properly will grind like new and keep each cup tasting fresh," says a senior barista at a major coffee shop.
Step 5: Test, Maintain, and Keep a Cleaning Schedule
Testing is the proof that your effort paid off. Grind a small batch of beans on the finest setting and watch the grounds fall. They should flow evenly, without clumps or excess dust.
If the grind sounds uneven or the output looks chunky, double‑check the burr alignment. A quick recalibration (usually a few clicks on the grind dial) can restore the zero point.
Now set a maintenance calendar. The research hook tells us that a quick daily brush removes about 90 % of loose grounds, but oil builds up over weeks. The average recommendation across 39 sources is to deep clean every 10‑14 days (CMSale guide). If you often grind beans for cold‑brew, checking out cold‑brew coffee subscriptions can give you fresh beans and convenient delivery. Use this simple table to track your routine:
Adjust the schedule if you grind dark roasts often ,their higher oil content can shorten the interval. Also, if you switch between beans and spices, add an extra brush step to avoid cross‑contamination.
Finally, keep a log. Write the date, the method you used, and any observations (e.g., slower grinding, strange noises). Over time you’ll see patterns and can tweak the schedule for your specific grinder model.
FAQ
How often should I brush my grinder after each use?
Brush the hopper and grind chamber once you finish brewing. A quick sweep takes less than a minute and removes about 90 % of loose grounds. This daily habit stops buildup and makes the deeper clean easier.
Can I use water to clean the burrs?
No. Water can cause rust on steel burrs and may seep into the motor. The research from Mahlkönig warns that any moisture inside the housing can lead to short‑circuit problems. Stick to dry brushes or approved cleaning tablets.
Are cleaning tablets safe for all grinder types?
Most tablets are formulated for flat‑burr grinders, but they work fine on conical burrs too. Check the manufacturer’s instructions , some high‑precision grinders advise against abrasive cleaners. When in doubt, use the brush‑only method.
What if I hear a grinding noise after cleaning?
A noise can mean a burr is misaligned or a loose screw. Re‑assemble the unit, tighten any visible screws, and run the grinder empty. If the sound persists, compare the burr gap to the factory setting and adjust as needed.
Is the rice method still recommended?
Rice can scrub away oil, but it may leave starch residue and strain the motor if the grains are too hard. The research shows two cons for rice: residue and motor stress. Use it only if you don’t have tablets, and clean the chamber with a vacuum afterward.
Do I need a special brush for my grinder?
A nylon‑bristled brush is ideal because it reaches tight spots without scratching. Metal brushes can damage the finish, and soft brushes may shed fibers that get stuck in the burrs.
How can I tell when the burrs need replacement?
Watch for uneven grind size, a drop in extraction consistency, or a gritty taste that won’t go away after cleaning. Over time, the burr teeth wear down, and the gap can’t be calibrated back to zero. If you see these signs, order a replacement set from the grinder’s brand.
Can I clean a grinder that’s still plugged in?
No. Always unplug before you start. The safety guidelines stress that a powered grinder can start moving unexpectedly, which can cause injury or damage to the components you’re trying to clean.
Conclusion
Keeping a coffee grinder clean isn’t a chore; it’s a small habit that protects flavor, saves money, and extends the life of a pricey piece of gear. By unplugging safely, brushing out loose grounds, deep‑cleaning the burrs, wiping the exterior, and following a simple test‑and‑log routine, you’ll notice brighter notes in every cup. A tidy grinder also runs smoother, so you’ll spend less time fixing jams and more time enjoying coffee.
Ready to give your grinder a fresh start? Grab a brush, pull out the burrs, and follow the steps above. Your beans will thank you, and your taste buds will notice the difference. For coffee lovers who want the best brew at home, a clean grinder is the secret weapon.