



Ever tried a fresh brew on a small boat and got a bitter taste? That usually means the grinder is dirty. In this guide you’ll learn how to clean coffee grinder on a boat, keep it rust‑free, and enjoy smooth coffee even when the sea is rough. We’ll walk through each step, give you real‑world tips, and show you how to keep your gear in top shape.
Step 1: Gather Marine‑Safe Cleaning Tools
Before you can start, you need the right gear. Knowing how to clean coffee grinder on a boat starts with tools that won’t rust or break in salty air. First, pick a soft brush, a microfiber cloth, and a small container for cleaning tablets. You’ll also want a mild, non‑abrasive cleaner that’s safe for metal. A small bottle of white vinegar works well for a quick rinse.
Here’s a quick checklist you can print out:
- Soft brush or old toothbrush
- Microfiber cloth
- Food‑safe cleaning tablets (like Urnex Biocaf)
- White vinegar or marine‑grade descaler
- Rubber gloves to keep hands dry
- Small airtight bag for parts
Why these tools matter: A soft brush removes grit without scratching the burrs. A microfiber cloth wipes oil without leaving lint. Cleaning tablets dissolve old coffee oils that can go rancid in heat and humidity. And vinegar cuts any salt crust that might form on metal.
And don’t forget to keep a spare set of tools on board. The sea can be unpredictable, so a backup brush can save you from a bad brew later.
For a full list of marine‑safe cleaning supplies, check out the selection atSeattle Coffee Gear cleaning supplies. They sell high‑quality, non‑abrasive solutions that work great on boats.
Step 2: Disassemble the Grinder Safely
Now that you have your tools, it’s time to take the grinder apart. This is a key step in how to clean coffee grinder on a boat because you need access to every nook where oil can hide.
First, unplug the grinder. Safety on a boat is a must, water and electricity don’t mix. Then, remove the hopper and any detachable trays. Most grinders have a twist‑off top; turn it counter‑clockwise and set it aside.
Next, look for the bolt that holds the burr set. Use a small screwdriver to loosen it. Keep the screws in a tiny bag so they don’t get lost overboard.
When you pull the burrs out, you’ll see a small amount of coffee dust. That’s normal. Lay the parts on a dry towel to avoid slipping.
And remember: if your grinder is a blade model, you’ll pull out the blade cage instead of burrs. The process is the same, remove, set aside, clean.
Watch this short video for a visual guide on taking apart a typical marine grinder:Disassembly video. It shows each step in clear detail.
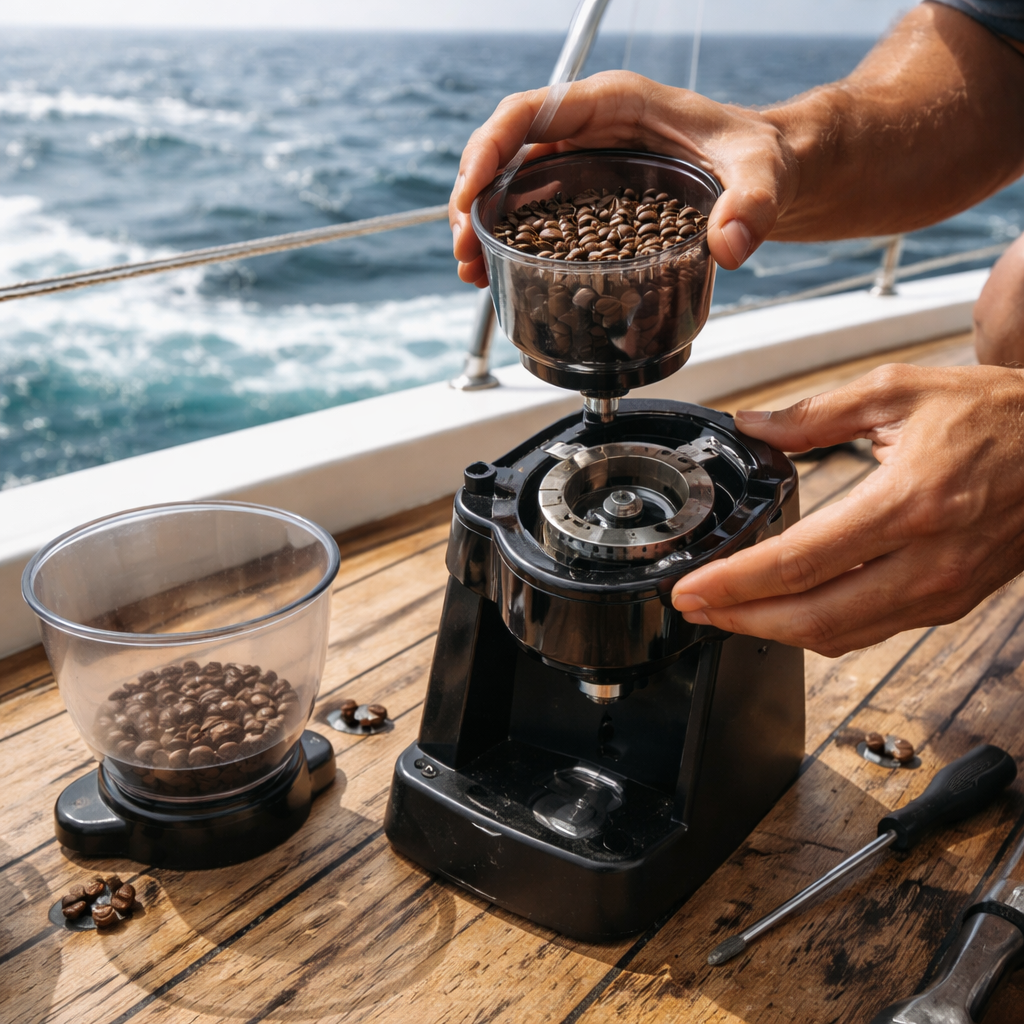
After you’ve taken everything apart, give each piece a quick shake to drop loose grounds. You’re ready for the next step.
Step 3: Remove Coffee Residue and Oil
With the grinder open, you can finally tackle the sticky stuff. Knowing how to clean coffee grinder on a boat means you must get rid of old coffee residue and oil that can turn sour in humid conditions.
Start by brushing out large bits with your soft brush. Then, drop a cleaning tablet into a bowl of warm water and let the parts soak for five minutes. The tablet will break down oily film without harming metal.
After soaking, use a damp microfiber cloth to wipe each piece. If you see stubborn spots, a tiny dab of white vinegar helps dissolve salt crystals.
And for a deeper clean, you can run a few cleaning tablets through the grinder as if you were grinding beans. This method works well on burr grinders and keeps the inside fresh.
Check the product page for the tablets you just used:Urnex Biocaf cleaning tablets. They’re biodegradable and safe for marine use.
For extra tips on oil removal, from Breville:Breville’s coffee grinder cleaning guide. It explains why oil builds up and how tablets can help.
Step 4: Deep‑Clean the Burrs and Chamber
Now you’re ready for a deep clean. This part of how to clean coffee grinder on a boat is where you really protect flavor.
Take the burrs and run a dry brush through the teeth. This removes any fine dust that a simple wipe might miss. Then, place the burrs in a bowl of warm soapy water for a minute. Use a gentle dish soap, nothing harsh.
Rinse each burr under running water, but be quick. Too much water can cause rust, especially on a boat. Dry them right away with a clean cloth.
Next, clean the grinding chamber. Use a small brush to sweep out the sides, then wipe with a cloth dampened with a mix of water and a splash of vinegar.
Below is a quick comparison of tools you can use for deep cleaning:
And remember to keep the chamber dry before you put anything back in. A damp chamber can rust in salty air.
For more on why frequent cleaning matters, from Vina Nha Trang:Ultimate coffee grinder cleaning guide. It talks about daily habits and deep cleans.
Step 5: Dry and Reassemble with Rust Prevention
Drying is the most overlooked part of how to clean coffee grinder on a boat. Salt air loves to turn metal green.
After you’ve rinsed all parts, lay them out on a dry towel in a sunny spot on deck. Sunlight helps evaporate hidden moisture. If you have a small handheld fan, give each piece a quick breeze.
Now, apply a thin layer of food‑safe oil, like a light coating of coconut oil, on the metal surfaces. This creates a barrier against rust without affecting coffee taste.
When you’re sure everything is dry, start reassembling. First, place the burrs back in their housing, aligning the notches exactly as they were. Then screw the bolt back in, but don’t over‑tighten. Next, snap the hopper onto the top and lock the lid.
And finally, give the whole unit a once‑over with a dry microfiber cloth. You’re ready to plug it in.
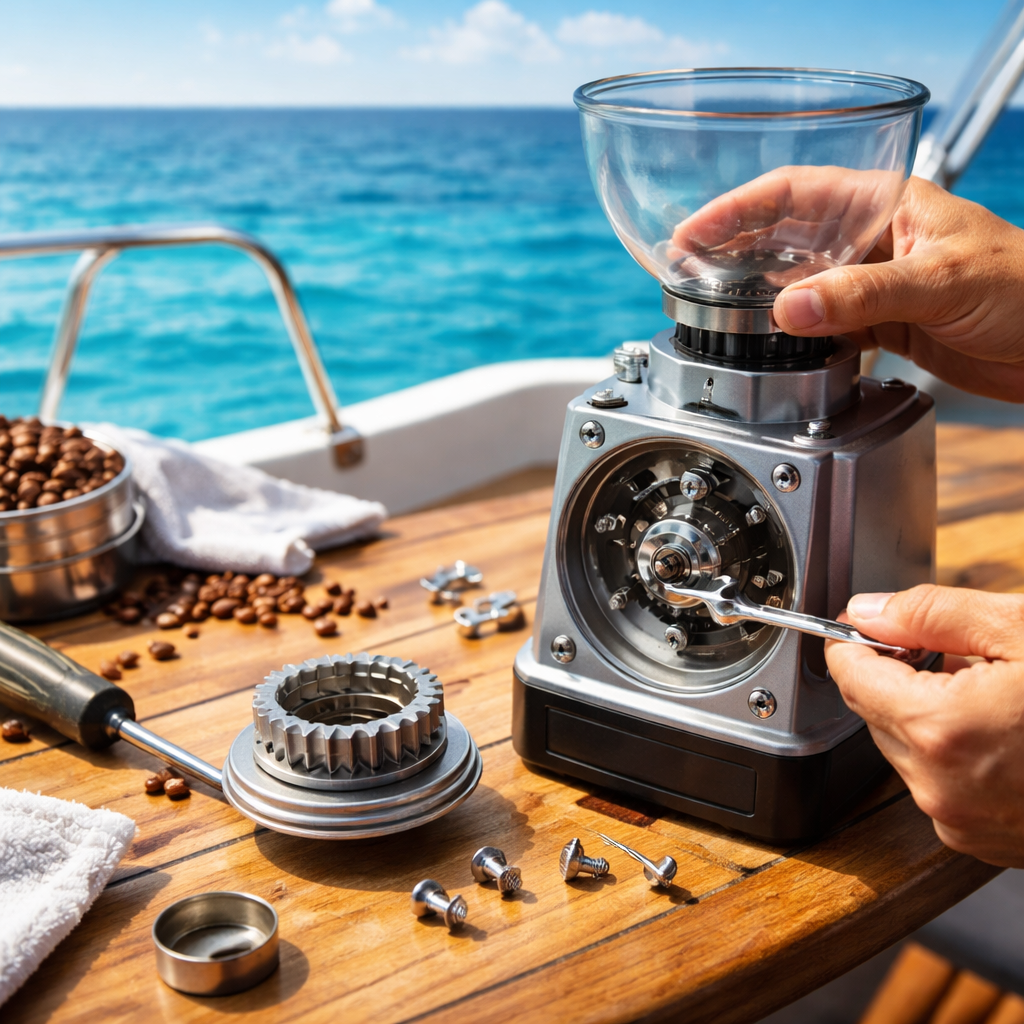
For a step‑by‑step video on drying and reassembly, see this clip:Dry and reassemble video. It shows the oil coating trick in detail.
Step 6: Test Grind and Store Properly on a Boat
Now that your grinder is whole again, you need to test it. This final part of how to clean coffee grinder on a boat makes sure you get a clean taste.
Plug the grinder in and run a small batch of beans. Listen for a smooth sound, no rattling. Check the grounds; they should be uniform, not clumped.If you notice any off‑flavor, run another short batch and discard the first grounds. This “seasoning” run removes any leftover cleaning residue.
When you’re done, store the grinder in a sealed container or a dedicated cabinet below deck. Keep it away from direct spray and humidity.
And label the container with the date of your clean. That way you know when the next deep clean is due.
Watch this short video for storage ideas on a boat:Grinder storage on a boat. It shows a simple dry box you can mount near the galley.
Step 7: Ongoing Maintenance Schedule
Cleaning once isn’t enough. A good schedule keeps your grinder performing well for months at sea.
Here’s a simple plan you can follow:
- Daily: Brush out loose grounds with a soft brush. Wipe the hopper with a dry cloth.
- Weekly: Run a cleaning tablet through the grinder. Wipe the exterior.
- Monthly: Disassemble, soak parts in a cleaning solution, dry, and oil the metal.
- Every 3‑6 months: Deep‑clean the burrs, check for rust, replace worn parts.
Why this schedule works: Daily brush work keeps dust from building up. Weekly tablet runs cut oil build‑up before it can go rancid. Monthly deep cleans catch any hidden grime. And a quarterly check catches rust early, which is key on a boat.
For a full guide on grinder upkeep, from Kaapi Machines:Kaapi Machines cleaning guide. It covers both electric and manual grinders.
Also read the tips from Cartwright Coffee on how often to clean based on bean type:Cartwright Coffee grinder cleaning frequency. Dark roasts need more frequent care.
FAQ
Can I use regular dish soap to clean my grinder on a boat?
Yes, you can use a mild dish soap for a quick soak, but be sure to rinse well and dry immediately. Salt water can linger on soap residue, so a final wipe with a clean damp cloth helps. After rinsing, run a dry run of beans to clear any soap taste. This keeps the taste pure and the metal safe.
How often should I run cleaning tablets on a marine grinder?
Running a tablet once a week is a good rule of thumb. If you grind oily dark roasts, you may want to do it every few days. The tablets break down oil that can turn sour in humid conditions. Just drop a tablet in the hopper, run a short grind, then discard the grounds. This keeps flavor bright.
What’s the best way to prevent rust on the burrs?
After each clean, coat the metal with a thin layer of food‑safe oil, such as a drop of coconut oil. Store the grinder in a dry box and keep it away from spray. Checking for tiny spots of corrosion each month helps you catch problems early. If you see rust, sand it off gently and re‑oil.
Do I need a special brush for marine use?
A soft, bristled brush works fine on most grinders. Look for one with a wooden handle that won’t conduct electricity. Some boat owners like a toothbrush because it fits tight spots. The key is that the brush is non‑abrasive so it won’t scratch the burrs.
Can I clean a blade grinder the same way as a burr grinder?
Blade grinders are simpler. You can brush out the grounds, run a tablet through the blades, and wipe with a damp cloth. Avoid soaking the motor housing. A quick dry run of beans after cleaning makes sure no soap or tablet taste remains.
What should I do if my grinder still smells after cleaning?
If a stale smell lingers, repeat the tablet soak and add a splash of vinegar to the water. After the soak, rinse thoroughly and dry in the sun. You can also grind a handful of uncooked rice to absorb any remaining oil, but only for blade grinders. Then run a fresh batch of beans and discard the first grounds.
Conclusion
Cleaning a coffee grinder on a boat doesn’t have to be a chore. By following the steps above, gathering the right tools, disassembling safely, removing residue, deep‑cleaning burrs, drying well, testing the grind, and keeping a regular schedule, you’ll brew great coffee every time you set sail. A clean grinder protects flavor, saves power, and stops rust before it spreads. Give your grinder the love it needs, and you’ll enjoy fresh, smooth coffee even on the high seas. Need fresh beans for your next trip? Check out Chilled Iguana’s coffee subscriptions for a taste of the Florida Keys wherever you go.