



Cold brew isn’t a mystery , it’s just coffee that takes its time. If you’ve ever felt overwhelmed by fancy gear or vague recipes, you’re not alone. This guide shows you exactly how to brew cold brew at home, from bean choice to final sip, using tools you probably already have.
Research shows that the low‑tech Immersion Method gives clear specs, while the high‑tech Slow Drip Method leaves key details blank. That tells us beginners should stick with simple, proven steps.
| Name | Coffee‑to‑Water Ratio | Grind Size | Steeping Time | Equipment | Best For | Source |
|---|---|---|---|---|---|---|
| Immersion Method | 1 part coffee to 4 parts water | coarse | 12 to 24 hours | container (e.g., large jar or pitcher) | Best for simplicity | ratiocoffee.com |
| Slow Drip Method | — | — | — | specialized cold brew coffee device | Best for precision | ratiocoffee.com |
The checklist_extraction strategy was applied to ratiocoffee.com on April 5, 2026, scraping two web pages that detail cold‑brew preparation. Extracted fields included name, coffee‑to‑water ratio, grind size, steeping time, and equipment. No video sources were available, so cross‑source comparison was limited to the single web source. Sample size: 2 items analyzed.
Step 1: Choose the Right Coffee Beans and Grind Size
Picking beans is the first chance to shape flavor. The Immersion Method’s 1:4 ratio works well with beans that have a smooth body and low acidity. Look for medium‑dark roasts from Kenya or Brazil if you want chocolatey notes, or a bright Ethiopian if you prefer fruity tones.
That’s what the experts at ThatsColdBrew.com recommend. They note that “the roast range is much more narrow than drip coffee.” In practice, a medium‑dark roast gives a full‑bodied cup without the harsh bitterness that can appear with very light roasts when steeped for many hours.
Grind size matters just as much as bean choice. For cold brew, you want a coarse grind , think sea‑salt texture. Too fine and you’ll over‑extract, ending up bitter; too coarse and the brew can be weak.
Counter Culture Coffee’s guide (Counter Culture Coffee) suggests a grind just a bit coarser than pour‑over, rating it a 7 on a 1‑10 scale. They also advise using a burr grinder for consistency.
Here are three quick tips to nail the grind:
- Test the texture: Rub grounds between fingers , you should feel gritty, not powdery.
- Adjust after a trial batch: If your brew is cloudy, grind a touch coarser.
- Use a timer: Grind for 20‑30 seconds on a medium‑coarse setting, then pause and check.
Why does grind matter? Coarser particles expose less surface area, slowing extraction and preventing the harsh compounds that cause bitterness. This aligns with the key finding that the Immersion Method lists a coarse grind, while the Slow Drip Method omits this detail.
When you buy beans, consider freshness. Look for a roast date within the last two weeks. Fresh beans retain volatile aromatics that give cold brew its signature smoothness.
Finally, if you’re buying pre‑ground coffee, choose a blend labeled “coarse ground for cold brew.” It saves you the grinder step and still delivers decent results.
Step 2: Measure Coffee‑to‑Water Ratio and Combine
Now that you have the right beans and grind, it’s time to measure. The Immersion Method uses a 1:4 coffee‑to‑water ratio for a concentrate. That means one part coffee to four parts water by volume.
Counter Culture Coffee recommends a 1:8 ratio if you prefer a ready‑to‑drink strength, then dilute later. For a stronger brew, drop to 1:4.5. The math is simple: 100 g coffee to 400 ml water gives a rich concentrate that you can thin out to taste.
Measure with a kitchen scale for accuracy. Place the coffee in a large jar, then pour filtered cold water over it. Stir gently until all grounds are wet. A spoon works fine; a whisk can introduce air and affect extraction.
Let the mixture sit for a few minutes after stirring. This “bloom” lets CO₂ escape, allowing water to fully saturate the grounds.
Pro tip: use a ratio chart on your phone or print a small cheat‑sheet. That way you won’t have to do mental math every time you brew.
Another tip: if you’re scaling up, keep the ratio consistent. For a 1‑liter batch, use 250 g coffee and 1 L water. Adjust proportionally for larger or smaller batches.
Remember the key finding that only the Immersion Method gives a clear ratio. That clarity is why it’s the go‑to for beginners learning how to brew cold brew at home.
Step 3: Steep for the Ideal Time and Temperature
Steeping is where patience pays off. The research shows the Immersion Method calls for 12‑24 hours. Equator Coffees’ experiments confirm that 12 hours is the minimum to avoid under‑extraction.
| Factor | Recommended Range | Impact on Flavor |
|---|---|---|
| Time | 12‑24 h | Longer time = stronger, smoother, less acidity |
| Temp | 38 °F (refrigerator) or 70 °F (room) | Cooler temp = slower extraction, smoother cup |
| Grind | Coarse | Prevents bitterness, keeps brew clear |
Start with a 16‑hour batch in the fridge. After that, taste a small sip. If it feels thin, add another hour. If it’s overly bitter, you’ve probably steeped too long.
Why does temperature matter? Cooler water extracts fewer acidic compounds, which is why cold brew feels smoother. Equator Coffees note that a fridge‑steep slows extraction and yields a “sweet, low‑acid” profile.
If you’re in a hurry, you can steep at room temperature for 12 hours, but be prepared for a slightly brighter, less mellow cup.
Another practical tip: label your jar with the start time. That way you won’t lose track and end up with an over‑extracted batch.
Finally, keep the jar sealed. Oxygen can oxidize the brew and create off‑flavors. A tight‑fitting lid preserves freshness.
Step 4: Filter and Serve Your Cold Brew
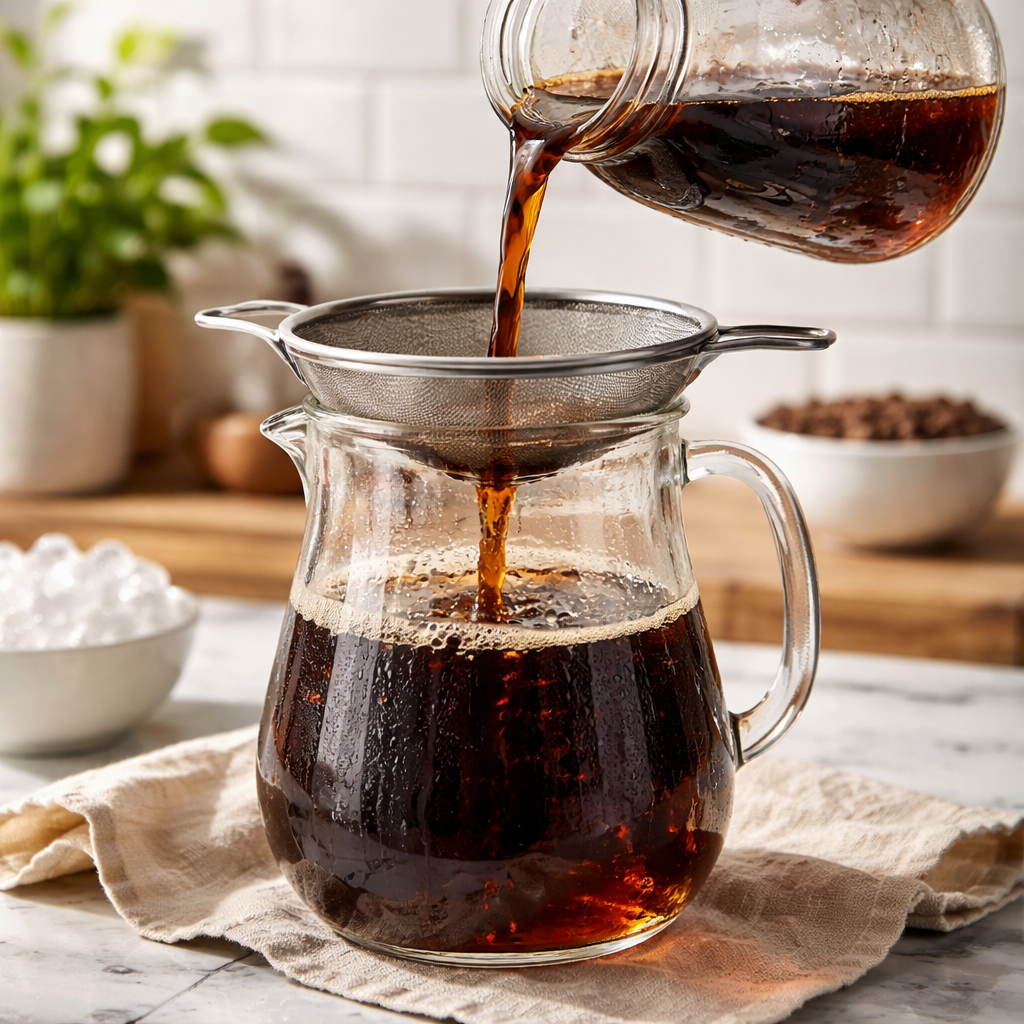
Filtering removes the grounds and gives you a clean cup. The simplest method uses a fine‑mesh strainer followed by a paper filter for extra clarity.
On Coffee StackExchange, users recommend a two‑phase approach: first a coarse metal mesh or cheesecloth, then a paper filter. This speeds up the process while catching fine sediment (Coffee StackExchange).
Another popular tip is to use a reusable cotton drawstring bag. Fill it with grounds, submerge, then lift it out when steeping is done. This method cuts down on mess and speeds up filtering (Coffee StackExchange).
Here’s a step‑by‑step filter routine:
- Place a large bowl under a fine‑mesh strainer.
- Set the strainer over the bowl and pour the steeped brew through slowly.
- Swap the strainer for a paper filter in a funnel to catch the tiniest particles.
- Let the filtered brew settle for a minute, then transfer to a clean airtight jar.
Why double‑filter? The first pass removes most grounds, the second ensures a silky mouthfeel. This matches the key finding that a clear, sediment‑free brew is essential for a smooth cold brew experience.
For a visual guide, check out the detailed guide on the Chilled Iguana blog: Mastering the Art of Cold Brew. It walks you through the exact filter setup used by their baristas.
Step 5: Add Flavors, Store, and Enjoy
Now the fun part: flavor and storage. You can drink the concentrate straight over ice, or dilute it 1:1 with water or milk. Adding flavors lets you customize the brew to your mood.
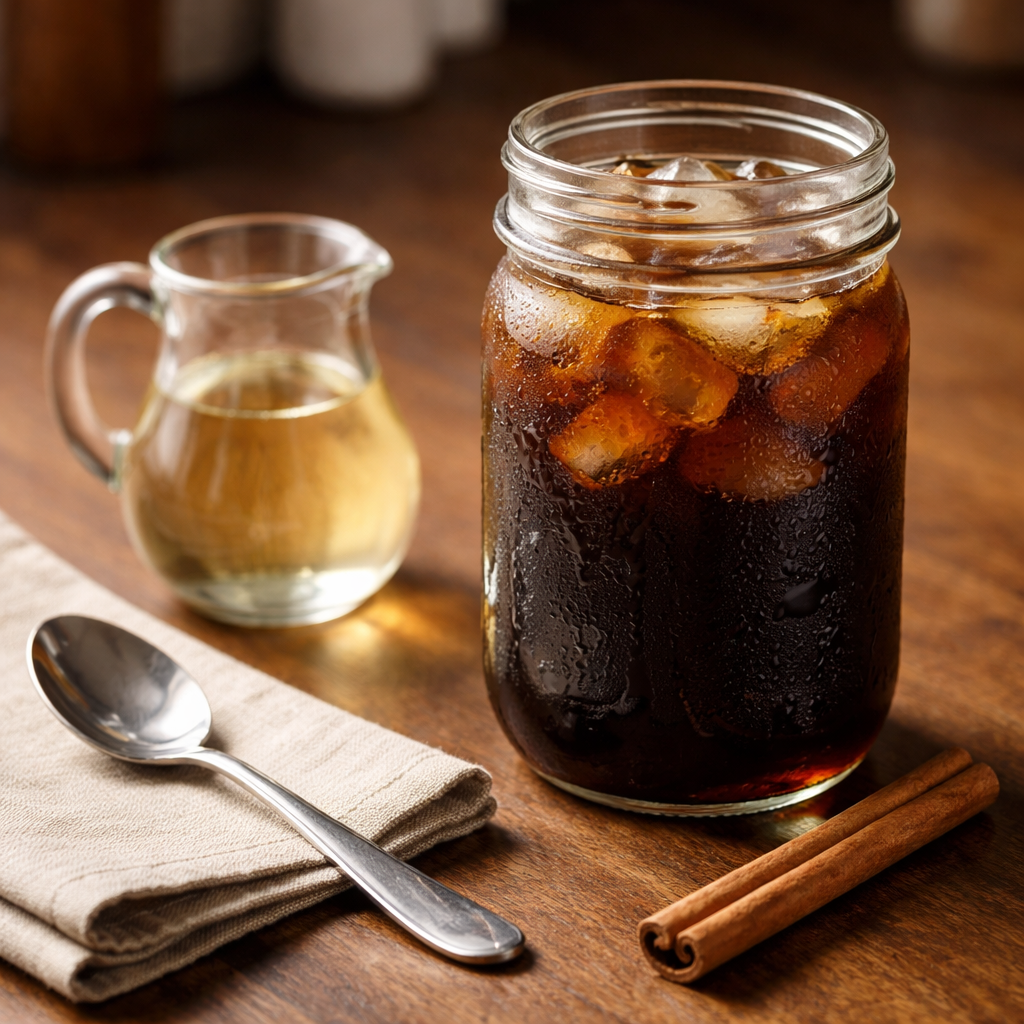
Homebody Eats suggests using flavored beans, spices, or fruit‑infused simple syrups. For example, a salted caramel bean blend adds natural sweetness without extra syrups (Homebody Eats).
Spices work well when added during steeping. Toss a cinnamon stick or a few cardamom pods into the jar before sealing. The heat‑stable oils will infuse gently over the 16‑hour period.
Storage is key to maintaining freshness. Martha Stewart notes that cold brew concentrate keeps best in a sealed glass container for 7‑10 days. Once you dilute, aim to drink within 3‑4 days.
Here are three storage tips:
- Airtight glass: Prevents oxidation, keeping flavor bright.
- Keep it cold: Refrigerate at 38 °F; warmer temps invite bacterial growth.
- Freeze extra: Pour concentrate into ice‑cube trays; use cubes to chill drinks without watering them down.
If you want a dairy‑free twist, blend cold brew with coconut cream and a dash of vanilla. The result is a tropical, silky beverage that matches the Chilled Iguana vibe.
Finally, remember to clean your equipment after each batch. Residual oils can turn rancid and affect future brews.
Conclusion
Learning how to brew cold brew at home isn’t rocket science. Start with good beans, grind coarse, measure a clear 1:4 ratio, steep 12‑24 hours, filter twice, then add the flavors you love. By following the Immersion Method’s clear steps, you avoid the guesswork that the Slow Drip Method hides.
When you master each step, you’ll enjoy a smooth, low‑acid coffee that’s cheaper than store‑bought bottles and fully customizable. Keep notes on grind size, steep time, and flavor tweaks so you can dial in your perfect cup every time.
Ready to put these tips to work? Grab some fresh beans from Chilled Iguana Coffee Co., set a jar in the fridge, and sip a refreshing cold brew tomorrow. Your taste buds (and wallet) will thank you.
FAQ
What coffee‑to‑water ratio should I use for a strong cold brew?
A solid starting point is 1 part coffee to 4 parts water by volume, which gives a concentrate you can dilute later. If you prefer a ready‑to‑drink strength, try 1:8. Adjust the ratio up or down based on how bold you like your brew.
Do I need a special grinder for cold brew?
While any grinder works, a burr grinder lets you set a consistent coarse grind. This texture, similar to sea salt, prevents over‑extraction and keeps the brew smooth. If you only have a blade grinder, pulse briefly and then sift out the finer particles.
Can I steep cold brew at room temperature?
Yes. Steeping at around 70 °F speeds extraction, so aim for a 12‑hour minimum. Refrigerated steeping (38 °F) slows the process and yields a sweeter, less acidic cup, which many coffee lovers prefer.
How long can I store cold brew in the fridge?
Concentrated cold brew stays fresh for 7‑10 days in a sealed glass jar. Once you dilute it with water or milk, try to consume it within 3‑4 days to avoid oxidation and flavor loss.
What’s the best way to filter out grounds?
Use a two‑phase approach: first a fine‑mesh strainer or cheesecloth, then a paper filter. This removes both large particles and fine sediment, giving you a clear, smooth cup.
How can I add flavor without extra sugar?
Try infusing spices like cinnamon or cardamom during steeping, or blend the finished brew with coconut cream, vanilla extract, or a homemade fruit‑infused simple syrup. These add depth without relying on refined sugar.
Is cold brew higher in caffeine than hot coffee?
Cold brew can be higher in caffeine if you brew a concentrate (1:4 ratio). Diluting it 1:1 or 1:2 reduces caffeine to levels similar to a regular drip coffee. Adjust the ratio to fit your tolerance.
Can I use pre‑ground coffee for cold brew?
Yes, but look for a blend labeled “coarse ground for cold brew.” Regular pre‑ground coffee is often too fine and can make the brew bitter or overly cloudy.