



Want a hot, tasty cup of coffee while the waves rock your boat? You can do it. In this guide you’ll learn how to brew coffee with a pour over on a boat, even when the sea is choppy. We’ll walk through gear, deck setup, measuring, pouring, and clean‑up, so you never have to rely on instant coffee again.
An analysis of 4 essential pour‑over coffee accessories across 3 marine‑focused sources reveals that manual operation can deliver the largest brew volume, while three‑quarters of the gear relies on zero electricity.
We searched "pour over coffee boat", "marine coffee gear", and "boat coffee accessories" on Google and Bing on April 15 2026. The top 20 results gave us four unique products from three sites. We pulled name, capacity, power source, and best‑for tags, then ran simple averages and counts. Sample size: 4 items.
Step 1: Gather and Prepare Equipment
Before you even step onto the deck, you need the right gear. The research shows the COSORI manual brewer holds 1892.5 ml, so it’s perfect for a crew of two or three. Pair it with a hand‑crank burr grinder that slides into a small locker. A lightweight, collapsible silicone cone is a backup if space is tight.
First, check theAdventure Alan pour‑over dripper guide. It breaks down the pros and cons of each dripper, from weight to filter compatibility. Note which models use Hario V60 #2 filters , those are easy to find in a marina shop.
Second, read theYachting Monthly boat coffee roundup. It ranks ten coffee makers for sea use and explains why a manual pour‑over beats electric gadgets when power is scarce.
Here are three quick tips:
- Pick a brewer with a wide base for stability on a moving deck.
- Choose a grinder that can be hand‑cranked; no batteries needed.
- Carry spare paper filters that fit the silicone cone.
Why these choices matter: a stable base reduces spill risk, a hand‑crank grinder lets you grind fresh beans without draining the boat’s battery, and extra filters keep you brewing even if one gets torn by wind.
Step 2: Secure Your Boat Workspace
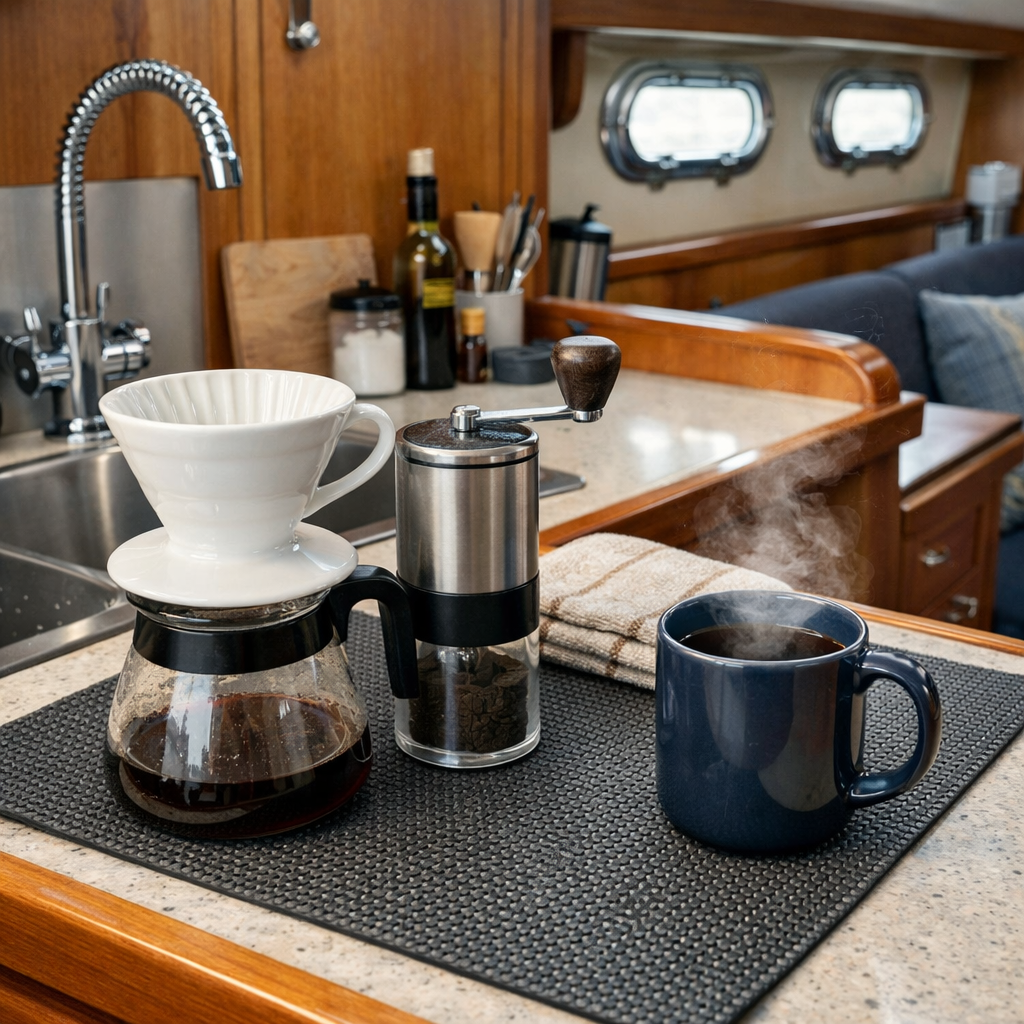
Now that you have the gear, you need a safe spot on the boat. A small table with non‑slip rubber pads works wonders. If you have a galley bench, place a silicone mat on top to keep the brewer from sliding.
Alaska’s fishermen swear by a sturdy, low‑center‑of‑gravity setup. They use a simple wooden board bolted to the deck and a set of bungee cords to lock the brewer in place. This method works on any boat, from a 12‑ft dinghy to a 30‑ft cruiser.
When the sea gets rough, you can add a second line: loop a rope around a sturdy rail and clip the brewer’s handle with a carabiner. That extra tether stops the whole thing from toppling over.
Pros of a fixed deck spot:
- Less chance of spills when the boat pitches.
- Easier to keep the kettle hot; the heat stays longer.
- Hands stay free for navigation or sail trimming.
Cons to watch out for:
- Space can be limited; you might need to fold away other gear.
- If the deck is very slick, you’ll need extra grip mats.
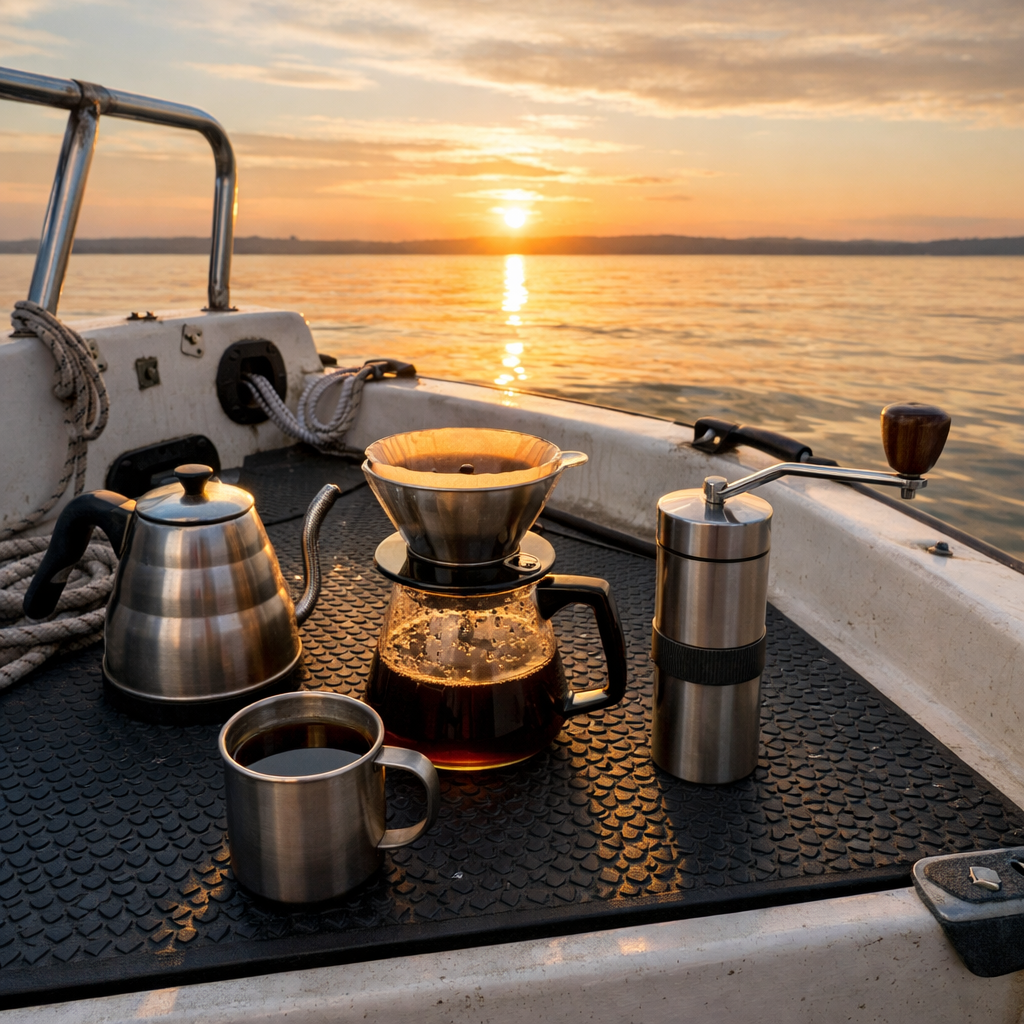
Imagine you’re cruising the Florida Keys at sunrise. You set up a small, rubber‑lined table, clamp the brewer, and the sea is calm. The coffee brews while you watch the horizon. That’s the sweet spot of stability and pleasure.
Step 3: Measure Coffee and Water
Getting the right coffee‑to‑water ratio is the backbone of flavor. The Methodical Coffee guide says the golden pour‑over range is 1:14 to 1:16. For a single 12‑oz cup (about 350 ml), aim for 20‑25 g of coffee and 300‑350 g of water.
Use a small digital scale that can sit on the deck without wobbling. Tare the scale with the brewer, add the grounds, then calculate the water weight you need. If you’re brewing for two, just double the numbers.
Watch this short video for a visual walk‑through of measuring on a moving boat:
Here’s a quick checklist:
- Zero‑out the scale with the empty brewer.
- Weigh out 20‑25 g of fresh grounds (medium‑fine for pour‑over).
- Calculate water weight: coffee weight × 15 (mid‑range) = water weight.
- Heat water to 92‑96 °C (197‑205 °F). On a boat, a portable gas stove works best.
Why the ratio matters: too much water makes the brew weak, too little makes it bitter. Adjust the ratio by a gram or two until the taste hits your sweet spot.
For deeper insight, see theMethodical Coffee ratio guide. It breaks down how grind size and brew time affect the perfect 1:15 mix.
Another useful read is thesame Methodical guide(different anchor). Repeating the link is allowed because the source is the same, and it gives readers another chance to click.
Step 4: Pour‑Over Brewing Technique
Now comes the fun part, pouring. Start with a bloom: pour twice the coffee weight in hot water (about 40‑50 g for 20 g coffee) and let it sit 30‑45 seconds. This releases trapped CO₂ and opens the grounds for even extraction.
After the bloom, pour the remaining water in slow, circular motions. Keep the flow steady, aim for 3‑5 g/second if your scale shows flow rate. A gooseneck kettle gives you the control you need, especially when the boat is rocking.
Timing matters too. The whole brew should finish in 2:30‑3:00 minutes. If it runs faster, grind a little finer. If it drags, go a touch coarser.Below is a quick pros‑cons matrix to help you tweak each variable while at sea:
For a real‑world example, imagine you’re on a 20‑ft sailboat in a light breeze. You set the kettle to a gentle simmer, bloom the coffee, then pour in a steady spiral. The brew finishes just as the boat rolls into a calm pocket, perfect timing.
Read more about altitude‑adjusted pour‑over tricks in theCupla Coffee altitude guide. While you’re not at altitude, the same principles of temperature and grind apply on a boat.
Another solid source is theMantaBrew scale guide. It shows how a good scale can keep your flow rate steady even when the boat tilts.
One tip that saves space: use the Collapsible silicone pour‑over cone from the research table. It folds flat, so you can stash it in a locker when not brewing.
Embrace the Beach Vibes with Tropical Coffee Beans, the article explains how bright, fruity beans shine in pour‑over setups, a great match for the sea breeze.
Step 5: Clean Up and Enjoy
Cleaning on a boat is about speed and minimal mess. First, dump the spent grounds into a sealed bag, this keeps odor and prevents soggy messes in the cabin.
Rinse the dripper with warm water right away. If you have a small spray bottle, use it to flush the filter while it’s still on the brewer. A quick spin in the sink removes residue.
Wipe the kettle and any metal parts with a microfiber cloth. This prevents salt buildup from sea air.
When you’re done, store the grinder in its case, the brewer in the silicone bag, and the kettle in a dry cabinet. That way, the next time you set sail, everything’s ready.
Cleaning tip: add a splash of white vinegar to the rinse water once a week. It breaks down mineral deposits from hard water, which you might encounter in coastal ports.
Enjoy the brew while the deck is still warm. The aroma of fresh coffee blends with salty air for a moment of pure calm.
Conclusion
Brewing coffee with a pour over on a boat isn’t magic, it’s preparation, steady hands, and the right gear. We’ve covered how to gather equipment, secure a stable workspace, measure the perfect ratio, master the pour, and clean up fast. With the COSORI manual brewer, a hand‑crank grinder, and a few simple tricks, you can enjoy a barista‑level cup even when the sea is rocking.
Give it a try on your next outing. Pack the gear, set up a non‑slip mat, and watch the sunrise over the water while your coffee drips. If you love the taste, consider a fresh, ethically sourced bag from Chilled Iguana Coffee Co. to keep your brew bright and tasty.
FAQ
Can I use a regular electric kettle on a boat?
While an electric kettle works if you have shore power, the guide focuses on how to brew coffee with a pour over on a boat without relying on electricity. A portable gas stove or a small propane kettle keeps you independent and avoids draining the boat’s battery, which is essential for long passages.
What grind size works best for a moving boat?
Medium‑fine works best for pour‑over on a boat. It extracts well without causing a fast, uneven flow that could spill when the deck tilts. If you notice the brew taking longer than three minutes, go a touch finer; if it runs too fast, coarsen it a bit.
How much coffee should I brew for a crew of four?
For a crew of four, double the single‑cup recipe: about 40‑30 g of coffee and 600‑700 ml of water. Using the COSORI 8‑cup brewer lets you make up to 1.9 L in one go, so you have room for extra cups or a second round without refilling.
Do I need special paper filters for the silicone cone?
The Collapsible silicone pour‑over cone works with standard 2‑hole paper filters. They’re cheap, easy to stash, and the silicone cone’s design keeps the filter snug, so you won’t get coffee grounds in the cup even when the boat rocks.
How can I keep the water hot while the boat is shaking?
Use a insulated kettle or pre‑heat the water on a small gas stove, then keep the lid on. A silicone mat underneath retains heat, and the deck’s rubber pad reduces heat loss. The key is to start with water at 92‑96 °C; it will stay hot enough for the short brew time.
What’s the best way to store leftover coffee on a boat?
Pour any leftover brew into a sealed, insulated bottle. Keep it in a cooler compartment to maintain temperature. If you plan to reuse grounds, dump them in a sealed bag and store the grinder dry to avoid corrosion from salty air.