



Swinging in a hammock with a hot cup of coffee is one of those simple pleasures that genuinely makes outdoor time better. The catch is most people either skip the coffee or settle for something awful. This guide walks you through every step, from picking the right beans to the moment you take that first sip without spilling it on yourself.
Step 1: Choose the Right Coffee for Outdoor Brewing
Your first job is picking a coffee that travels well and still tastes good. That's a narrower window than it sounds.
Pre-ground coffee is the obvious convenience pick. It skips the grinder and works fine if you use it within a day or two of opening the bag. But if you want better flavor on a longer trip, bring whole beans and a hand grinder. A manual burr grinder doesn't need batteries, fits in most packs, and gives you a consistent grind every time.
Roast matters outdoors. A medium roast holds up well across most brew methods because it's forgiving on temperature and extraction time. Dark roasts like the Italian Roast from Chilled Iguana Coffee Co. deliver a bold, full-bodied cup that stands up even when your water temp or brew time isn't perfectly dialed in. That's exactly the kind of safety margin you want when you're outdoors.
If you want a flavored option, something like the Cinnamon Hazelnut or Caramel from Chilled Iguana Coffee Co. adds a little sweetness without needing sugar packets in your pack. Their coffees are freshly roasted and ethically sourced, so you're not compromising on quality just because you're camping.
One thing to think about: coarse grind is the most forgiving outdoor setting. Across the portable brewing methods we looked at, coarse grind appeared in 4 of the 9 methods that specified a grind size. It reduces over-extraction when your brew time drifts longer than planned, which happens a lot when you're relaxed in a hammock and not watching a timer.
If you're still figuring out which roast you like, the Best Sellers Sample Pack from Chilled Iguana Coffee Co. includes six different coffees for $22.99. It's a smart way to test a few options before committing to a full bag for a longer trip.
Step 2: Pick Your Hammock-Friendly Brew Method
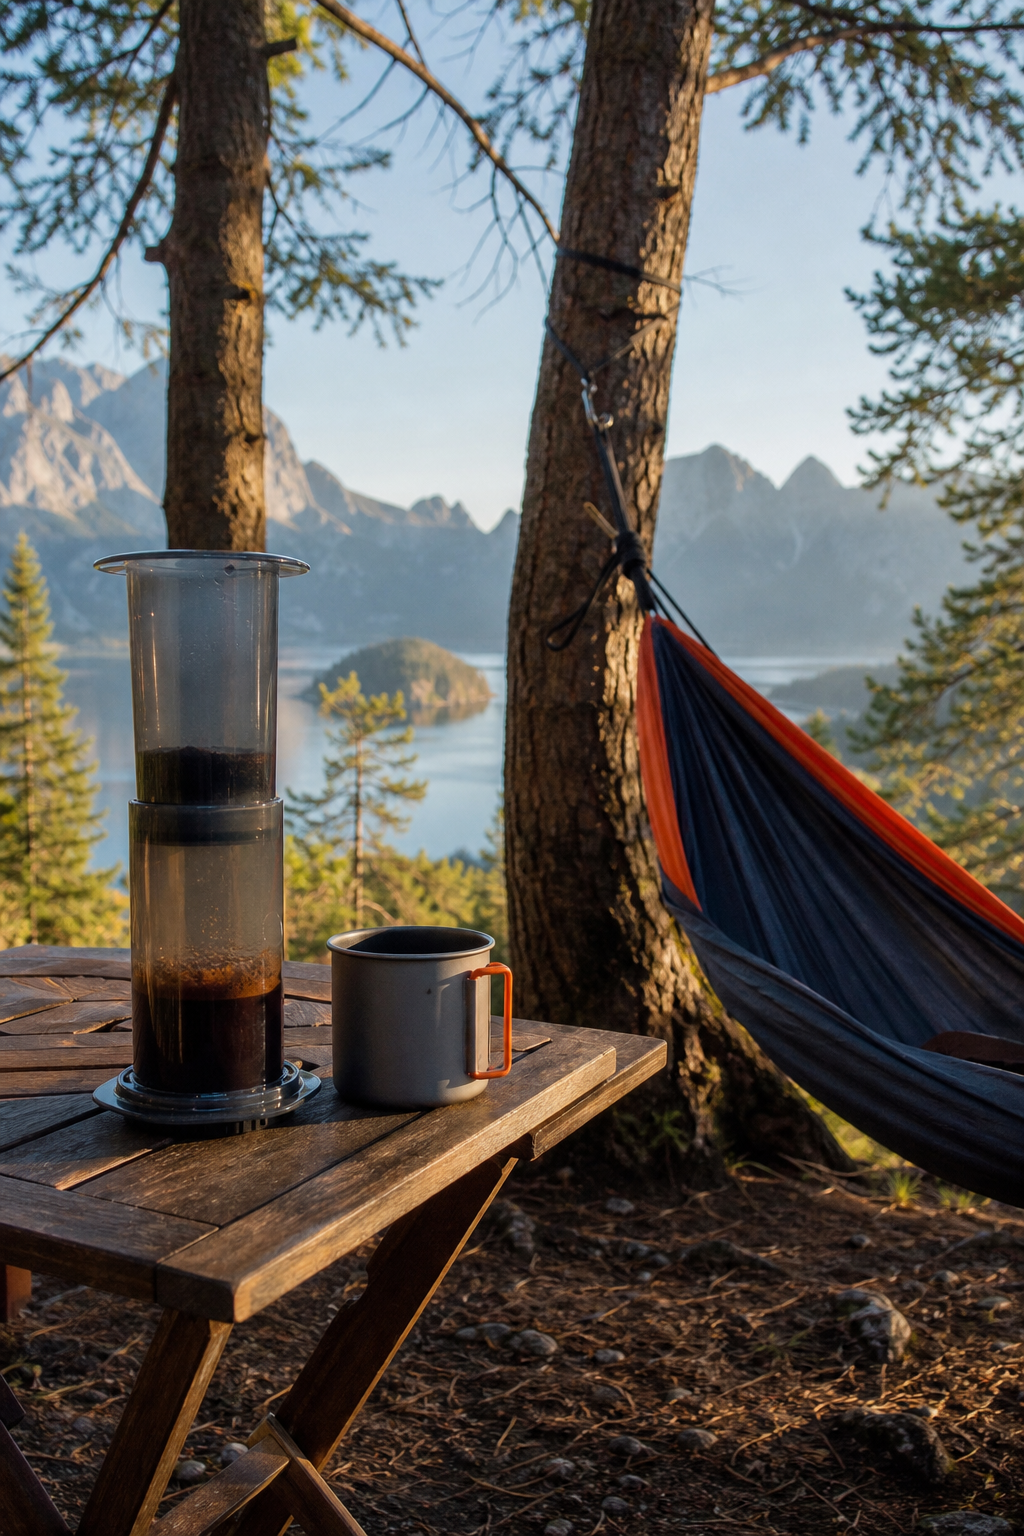
This is where most people either nail it or turn a fun idea into a frustrating mess. The key is matching your brew method to how much gear you want to carry and how still your hands need to be.
Here's a quick comparison of the most usable methods for hammock brewing:
The AeroPress is the standout here. It brews in one to two minutes, the grind window is forgiving, and it's nearly impossible to break. You push hot water through the coffee with light pressure, so there's no real splash risk if you're careful.
A collapsible pour-over cone with a paper filter is the lightest option. Slip a paper filter in, add coarse grounds, and pour slowly over about two minutes. The limitation is you need a steady pour, which means climbing out of the hammock or at least sitting up properly.
French press takes three to four minutes and requires a coarse grind to avoid a sludgy cup. It's bulkier than the others but produces a rich, full-bodied result. One honest caveat: glass French presses don't belong in a hammock setup. Get a stainless steel or insulated one.
Instant coffee sounds like a cop-out, but it's worth reconsidering. When you're deep in a forest at dawn and don't want any fuss, a quality instant packet dropped into hot water works. The portability is perfect, brew time is under a minute, and you have zero cleanup.
Across the methods we compared, the average brew time looks like 145 minutes, but that's skewed by cold brew, which takes 12 to 24 hours. The median brew time is just two minutes. Most hammock-friendly methods are genuinely fast.
Step 3: Pack Your Gear Without Overloading
Packing for hammock coffee is a balance problem. Bring too little and you're frustrated. Bring too much and it stops being fun.
Here's the core list for an AeroPress or pour-over setup:
- Your brewer (AeroPress Go or collapsible cone plus paper filter)
- Pre-measured coffee in a small zip bag or airtight container
- A compact camp stove for boiling water fast
- A reliable mug or tumbler that won't tip over
- Filters (or a reusable metal filter for AeroPress)
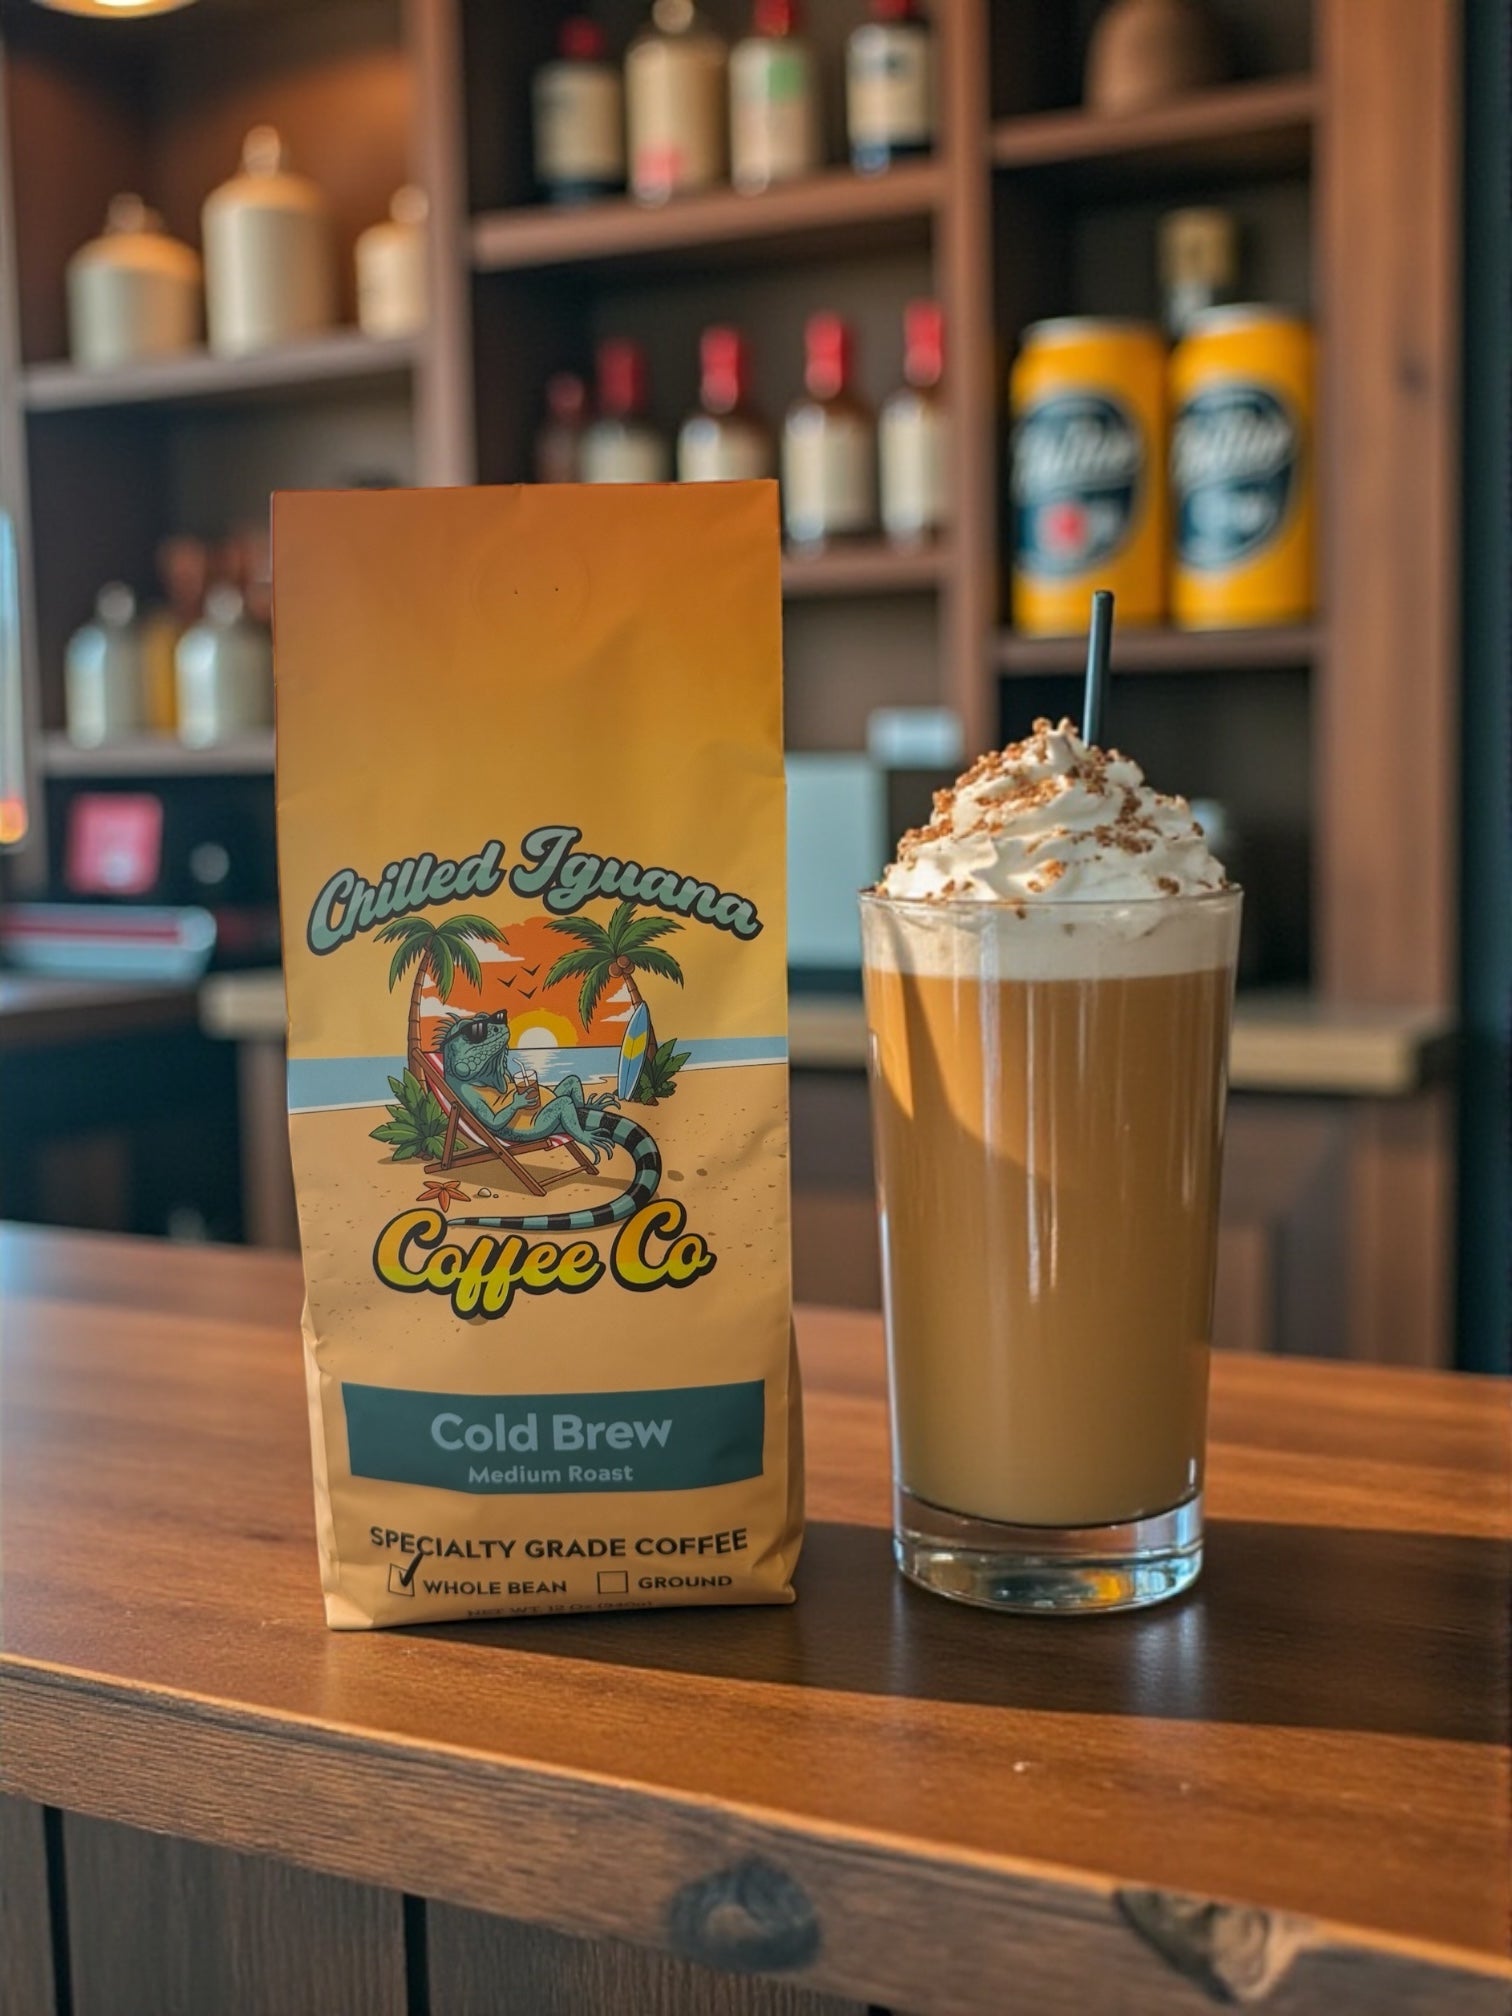
For the mug, spill resistance matters more than anything else. The Cold Brew Coffee from Chilled Iguana Coffee Co. is worth mentioning here because it's a genuine alternative to hot brewing outdoors. Steep the grounds overnight in cold water at home, then pour the concentrate into an insulated tumbler before you head out. No heating required at the campsite. It's practically spill-proof because you're just drinking from a sealed tumbler.
Reusable metal filters for the AeroPress are worth the small investment. Paper filters work, but packing a stack of them is annoying and they create trash. A metal filter means one item to wash.
Keep your coffee station in one dedicated pouch or small bag so you're not hunting for the filter when your water is already boiled. Good organization cuts setup time in half and means you spend more time actually relaxing.
Getting good rest is part of the outdoor ritual too. If you're hammock camping overnight and want the full experience, it helps to think through your whole sleep setup, since sleep quality affects how you feel in the morning — which is ultimately why that first cup matters so much.
Step 4: Heat Your Water to the Right Temperature
Water temperature is the thing most people ignore outdoors. But it makes a real difference.
For most portable methods, you want water between 185°F and 205°F. Boiling water sits at 212°F at sea level. Let it rest for 30 to 45 seconds after boiling and you'll land right in that sweet spot. At higher elevations, water boils at a lower temperature, so you can actually pour more quickly off the boil.
Why does this matter? Water that's too hot pulls out bitter compounds fast. Water that's too cool under-extracts and gives you a weak, sour cup. Water temperature is one of the primary variables affecting extraction alongside grind size and brew time.
A compact camp stove is the right tool here. If you're on a longer trip and want to save fuel, bring a small windshield for your stove. Wind is the biggest reason water takes longer to boil outdoors.
If you don't have a thermometer, use the 30-second rule: boil fully, then wait 30 seconds before pouring. It's not perfect, but it gets you close enough for an AeroPress or pour-over.
Cold brew skips all of this. Because cold brew coffee uses room-temperature or cold water over a long steep, there's no temperature management at camp. That's one reason it's worth keeping in your rotation, especially in warm weather when heating water feels like a chore.
Step 5: Brew, Balance, and Enjoy from Your Hammock
You've got the right coffee, the right method, and hot water. Now comes the part that actually takes a little practice.
Brew before you get in the hammock. That sounds obvious, but a lot of people try to do everything while hanging and end up with coffee on their sleeping bag. Set up your brewer on a flat rock, a camp table, or even the ground. Brew the full cup. Then get in the hammock with a full, sealed, or lidded mug.
If you're using an AeroPress, the whole process takes under two minutes once your water is hot. Add your grounds, pour water to your brew line, stir once, and press. The Chilled Iguana Coffee Co. Cowboy Blend works particularly well with this method. It's a dark and medium roast combination that punches through the AeroPress with good body.
For pour-over in the field, you'll want to stand for this part. Pouring slowly over grounds takes a steady hand and a good angle. Two minutes of standing is worth it for the cleaner cup you get out the other side.
Once you're in the hammock, hold the mug with both hands or set it on your chest if it has a lid. Don't try to do anything else with your hands while it's hot. Just drink it. The whole point of hammock coffee is to slow down for a minute.
One thing worth knowing: the Florida Keys Blend from Chilled Iguana Coffee Co. is a strong choice for this ritual. It's built around that warm, laid-back Keys vibe the brand is known for, which matches the hammock moment pretty well. Their subscription option means you can have freshly roasted coffee delivered before each trip without thinking about it.
FAQ
What is the easiest way to make coffee while hammock camping?
The easiest method is instant coffee or an AeroPress. Instant needs only hot water and takes under a minute. An AeroPress takes one to two minutes, produces a much better cup, and still requires minimal gear. For zero heat required, cold brew made at home and poured into an insulated tumbler is the simplest option at the campsite itself.
What coffee grind works best for outdoor brewing?
Coarse grind is the safest choice for most outdoor methods. It's forgiving if your brew time runs a little long and works well with a French press and pour-over. The AeroPress tolerates medium-fine, which gives it more flavor clarity. Fine grinds are harder to control outdoors and tend to over-extract or clog filters when your variables aren't precise.
How do I keep my coffee hot in a hammock?
Use an insulated stainless steel mug with a lid. These keep coffee at a drinkable temperature for 45 to 60 minutes even in cooler outdoor air. Avoid thin-walled mugs or standard camp cups, which lose heat fast. Brew into a preheated mug by rinsing it with a small splash of hot water before you pour your actual coffee in.
Can I make cold brew coffee for a hammock trip?
Yes, and it's actually one of the most usable options. Steep coarse grounds in cold water for 12 to 18 hours at home before your trip. Pour the finished concentrate into an insulated tumbler. At the hammock, you just drink it, no stove needed. The Cold Brew Coffee from Chilled Iguana Coffee Co. is designed specifically for this method, with a flavor profile built around cold extraction.
How much coffee gear should I pack for hammock camping?
Keep it to five items or fewer: your brewer, pre-measured coffee, a heat source, a filter, and a good mug. Anything beyond that usually stays in the bag. If weight is a real concern, drop the dedicated brewer and go instant. If flavor matters more, the AeroPress Go is compact enough for any pack and produces a genuinely good cup in two minutes.
Conclusion
Good hammock coffee doesn't require much. The right beans, a simple brewer, and water at the right temperature gets you 90% of the way there. Start with a medium or dark roast from Chilled Iguana Coffee Co., pick up an AeroPress or a collapsible cone with paper filter for pour-over, and brew before you climb in. Once you've done it a few times, the whole setup takes less than five minutes and the result is worth every second of it.