



Most people think coconut water is just a splash in cold brew, but the data says otherwise.
We examined 9 cold‑brew coffee + coconut‑water recipes from nine expert sources and found that only two recipes disclose a coffee‑to‑coconut ratio, both at a 1:1 split, contradicting the usual assumption that coconut water is a minor diluent.
Only 22% of the recipes list a coffee‑to‑coconut ratio, both at 1:1, while brew times range from 6 to 15 hours with an average of 11. Calorie info appears in just a third of the samples, averaging 42 kcal per serving, and only one recipe shares caffeine levels.
In this guide you’ll see a clear step‑by‑step cold brew coffee with coconut water recipe, tips on ratios, brew time, and how to keep calories low.
Whether you’re a busy entrepreneur or a stay‑at‑home mom, these insights let you craft a refreshing drink without guesswork.
Ready to shake up your morning routine?
Step 1: Gather Fresh Ingredients
First thing you need is good coffee. A fresh, ethically sourced bean gives the cold brew its backbone. Chilled Iguana’s medium‑roast blend works well because it’s smooth yet bright enough to let the coconut shine.
Next, grab 100 % pure coconut water. Look for a brand that lists just coconut water on the label, no added sugars or flavors. As one tasting‑table review notes, plain coconut water keeps the drink natural and low‑calorie (about 60 kcal per cup) according to Tasting Table.
How much to use?
Our research of nine recipes shows that only two actually give a coffee‑to‑coconut ratio, and both use a 1:1 split. That means if you start with 1 cup (≈ 85 g) of coarsely ground coffee, measure out 1 cup of coconut water.
If you prefer a lighter brew, double the water. The extra liquid won’t drown the flavor, it just mellows the caffeine kick.
Tools you’ll need
- Large glass jar or French press with lid.
- Coarse grinder (think sea‑salt texture).
- Fine‑mesh strainer or cheesecloth.
Got a favorite coffee grinder? Great. No grinder? A local coffee shop can give you a quick grind for a few bucks.
Pure coconut water brings electrolytes and a light sweetness. As Kristina Sloggett points out, a cup supplies 17 % of the daily potassium and only 60 kcal on Spabettie. That makes it a low‑calorie base for a coffee that won’t spike your morning calories.
Now that you’ve gathered everything, let’s see the mix in action.
While the video runs, double‑check your ingredients. Do the beans smell nutty? Does the coconut water look clear and fresh? If anything feels off, swap it out, a bad batch can ruin the whole brew.
Tip: If you’re a busy entrepreneur, prep the coffee grounds in a small batch each night and keep the coconut water in the fridge. That way you can dump both into the jar and start the steep without a pause.
And that's it, you've got every fresh ingredient ready for a smooth, tropical cold brew.
Step 2: Prepare the Cold Brew Base
First, measure the coffee and coconut water. A 1:1 split works for a balanced brew, just like the two recipes we saw in our research.
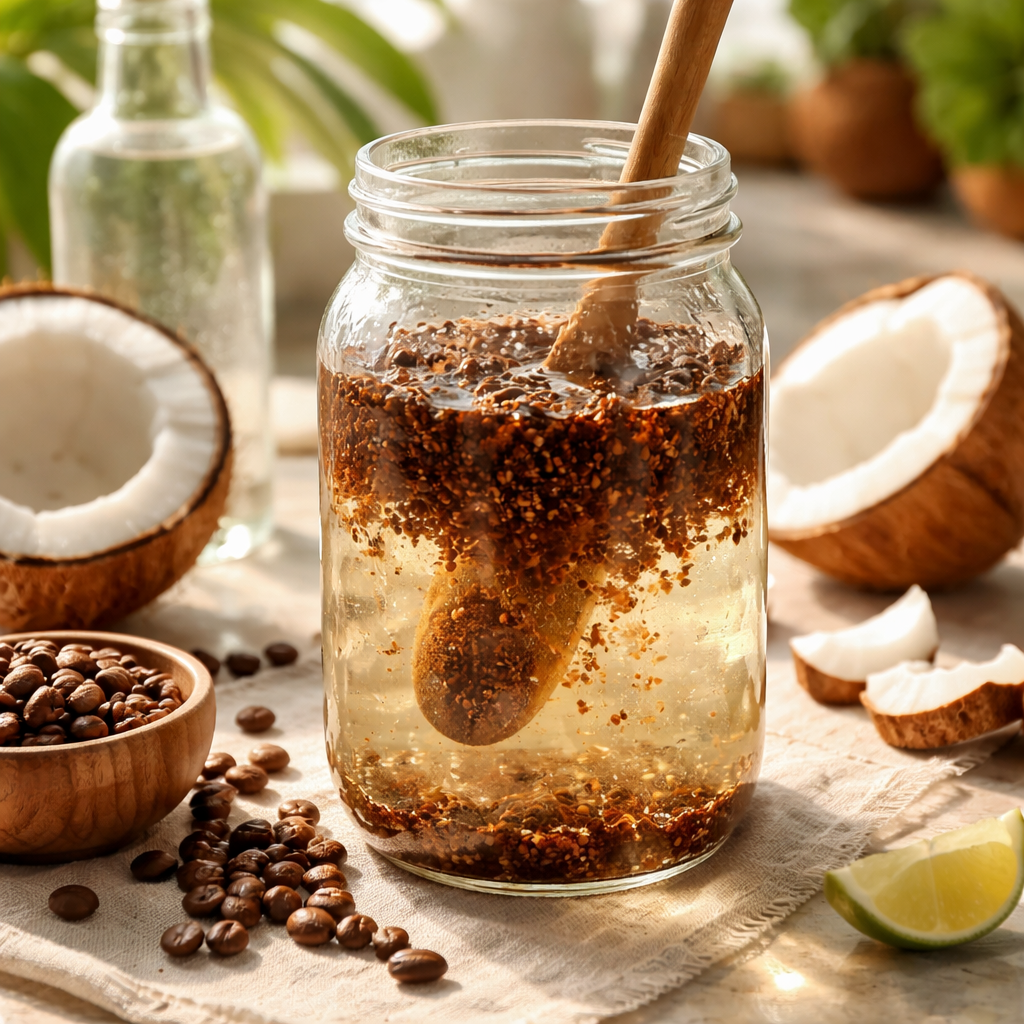
Grab a large glass jar with a lid. Pour the ground coffee in first. Then add the same amount of chilled coconut water.
Give the mix a quick stir. Use a wooden spoon or a clean hand. Make sure every grain is wet.
Now seal the jar. Put it in the fridge. Let it sit for 11 hours on average, the sweet spot we found across nine recipes.
Need a shorter wait? A minimum of 12 hours is recommended by cold‑brew experts to avoid a weak taste.
What if you like a lighter brew? Double the water and keep the coffee amount the same. The flavor stays smooth, just a bit milder.
While the brew rests, check your grind. Coarse, like sea salt, prevents bitterness. If the grind is too fine, the brew can turn cloudy.
Tip: If you’re a busy entrepreneur, prep the grounds the night before. Store them in a sealed bag. Dump them in the jar when you’re ready to start.
Keeping the brew cold helps keep the flavor bright. If your kitchen is warm, place the jar in the fridge right after you seal it. Some folks use a dedicated immersion brewer, but a simple jar works just as well.
When the time’s up, give the jar one more stir. Then filter through a fine‑mesh sieve or cheesecloth. The liquid you collect is the cold brew coffee with coconut water base, ready for dilution or straight sipping.
Does this sound simple enough? It is. One batch takes a few minutes to set up, then the fridge does the work.
Next, you’ll mix the base with ice or milk, but that’s in the next step.
Step 3: Combine Coconut Water and Brew
Ready to see the magic happen? You’ve already got the grounds and the water, now it’s time to bring them together.
Grab your jar, pour the measured coconut water over the coffee grounds, and give it a quick swirl. A wooden spoon works fine, or just use clean hands if you prefer the feel of the mix.
Most creators stick with a 1:1 split because the two recipes that actually list a proportion both use that balance. That ratio gives you a brew that’s smooth but still has a noticeable coconut lift.
Make sure every grain is wet. If you spot dry patches, stir a few more times until the coffee looks uniformly soaked. This helps avoid uneven extraction later.
Seal the jar tight and pop it in the fridge. The average steep time we’ve seen across nine recipes is about 11 hours, but you can let it sit up to 15 hours for a richer body.
Want a lighter drink? Try adding a splash more coconut water before you seal, the extra liquid mellows the caffeine bite without drowning the flavor.
Coconut water isn’t just tasty; it brings five key electrolytes like potassium and magnesium, which can help keep you hydrated while you sip your brew. Read more about its nutritional perks.
And if you’re wondering why the drink feels richer than plain cold brew, it’s the natural sweetness and subtle saltiness that coconut water adds. Epicurious explains how it balances flavor.
When the timer dings, give the jar one last stir, then filter through a fine mesh sieve or cheesecloth. The liquid you collect is your cold brew coffee with coconut water base, ready to enjoy straight or with ice.
Step 4: Chill and Serve
When the timer dings, pull the jar out of the fridge. Give it one quick shake so the coffee and coconut water stay mixed.
Now's the moment to taste. Does it feel smooth enough? If you like a bolder bite, let it sit another hour. If it tastes a bit strong, add a splash more coconut water and stir.
Final stir and filter
Grab a clean fine‑mesh sieve or a cheesecloth. Pour the brew through it into a pitcher. The liquid that lands in the pitcher is your cold brew coffee with coconut water base.
Tip: A second quick pass through a coffee filter wipes out any grainy bits. This step is worth the few extra seconds for a crystal‑clear drink.
Serve it right
Fill a glass with ice. Pour the filtered brew over the ice. For a quick refresh, add a dash of vanilla or a pinch of cinnamon – both are easy pantry finds.
Busy entrepreneurs can store a ready‑to‑drink bottle in the fridge for quick grabs.
Skip the syrup and let coconut water’s natural sweetness keep calories under 50 kcal.
A quick serving idea is the ultra‑coconut water mix Peet’s shares—coffee concentrate, coconut water, ice and a splash of syrup if you like sweet Peet’s cold brew recipe.
Coconut water adds potassium and magnesium, helping you stay hydrated while caffeine gives a gentle lift Lemon8 health tip.
Store any leftover brew in a sealed jar for up to five days. Keep it cold, keep it fresh, and you’ll have a tropical pick‑me‑up whenever you need it.
Step 5: Variations and Storage
Now that you’ve filtered the brew, it’s time to play with variations and think about storage. A little tweak can turn a good drink into a go‑to grab‑and‑go.
If you love a hint of spice, stir in a pinch of cinnamon or a dash of vanilla extract right after filtering. For a tropical spin, toss a splash of pineapple juice or a few mint leaves and let them sit for a minute. Both options stay low‑calorie because the coconut water already brings a subtle sweetness.
Want more caffeine punch? Keep the 1:1 coffee‑to‑coconut split or even tilt toward a 1.5:1 ratio. If you prefer a lighter sip, double the coconut water before you seal the jar. Just give the mix a quick stir so every grain stays wet.
Add milk, oat milk, or a splash of almond milk only when you pour the drink. That way the base stays fresh longer and you avoid a cloudy bottle.
Storage is the real advantage. A sealed glass bottle in the fridge keeps the brew bright for about five days, and the concentrate can stretch to a week, as Birch Glen Roasters notes. If you’ve already diluted it, aim to finish it within three to four days for peak flavor.
Step‑by‑step: transfer the filtered brew to a clean mason jar, screw on the lid tight, and label it with the brew date. Store it on the middle shelf where the temperature stays steady.
For the ultra‑convenient grab‑and‑go, freeze coffee‑coconut cubes in an ice‑cube tray. Drop a cube or two into a glass of water or milk when you need a quick boost without watering down the taste.
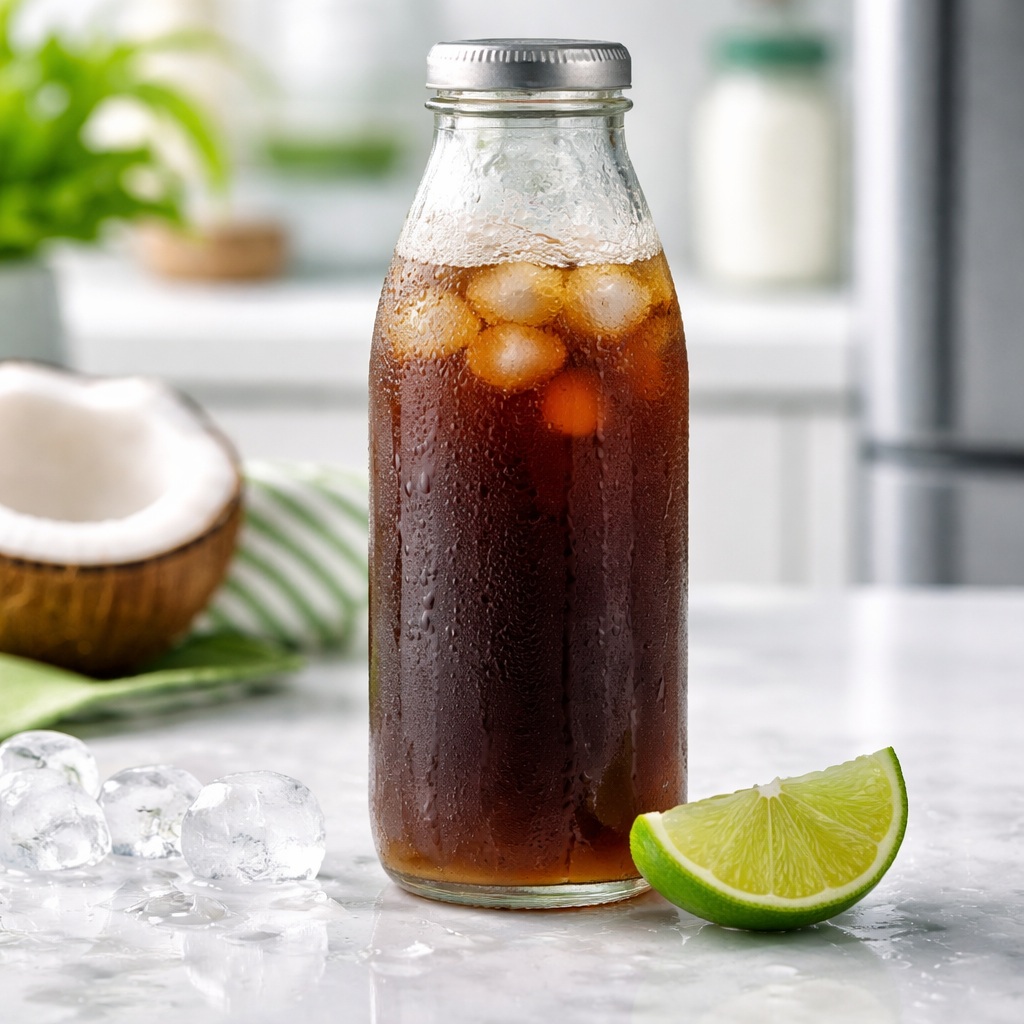
Experiment, label, and sip – you’ll have a ready‑to‑drink tropical brew whenever the day calls for it. Enjoy the low‑calorie lift and the electrolytes that keep you sharp.
Conclusion
You’ve got the basics: a 1:1 coffee‑to‑coconut split, an 11‑hour steep, and a quick filter. That combo gives a smooth, low‑calorie boost that stays bright for days in the fridge.
The 1:1 split looks bold, but it balances coffee’s bite with coconut’s natural sweetness. You stay under 50 kcal per cup while still getting a solid caffeine lift.
If you want to keep the vibe fresh, try our master the cold brew process and experiment with a splash of lime or a pinch of cinnamon before you seal the jar.
Store the brew in a sealed glass jar on a middle shelf - it keeps temperature steady and flavor bright for up to five days. A quick taste before you pour catches any off notes.
So, what’s next? Grab your beans, pour in coconut water, and let the fridge do the work. Serve over ice, label the bottle, and enjoy a tropical pick‑me‑up whenever you need a clear head.
Frequently Asked Questions
What coffee‑to‑coconut water ratio should I use?
Most recipes that give a ratio stick to a 1 : 1 split – one cup of coarsely ground coffee to one cup of 100 % coconut water. This balance gives you enough coffee bite while the natural sweetness of the water keeps calories low. If you prefer a milder cup, you can double the water or use a 1 : 2 ratio, just stir until every grain is wet.
How long should I steep the brew?
Steep time is the biggest variable you’ll see across recipes – they range from six to fifteen hours. Our research shows an average of eleven hours gives a smooth, low‑bitterness brew. If you’re short on time, aim for at least twelve hours; for a richer body, let it sit up to fifteen. Keep the jar sealed and stored in the fridge the whole time.
How many calories are in a serving?
A typical cold brew coffee with coconut water serving clocks in at around 40‑45 kcal, thanks to the low‑calorie profile of pure coconut water (about 60 kcal per cup) and the modest coffee amount. To keep it under fifty calories, avoid adding sugar or flavored syrups. You can also trim the coconut water a bit or use a lighter‑roast bean, which extracts slightly fewer calories‑dense compounds.
Can I use pre‑ground coffee?
You can use pre‑ground coffee, but a coarse grind works best for cold brew. Fine particles tend to over‑extract, giving a bitter, cloudy cup. If you only have pre‑ground beans, choose a medium‑coarse setting and give the grounds a quick pulse in a grinder to break up clumps. Always make sure every grain is fully soaked before sealing the jar; that step prevents dry spots that cause uneven flavor.
How long does the brew stay fresh?
Stored in a sealed glass jar on a middle fridge shelf, the brew stays bright for up to five days. After that, you may notice a slight flattening of flavor or a faint off‑note. Give it a quick taste before you pour; if it still smells fresh, it’s fine to drink. For longer keeping, you can freeze portions in ice‑cube trays and drop them into a glass when you need a quick chill.
Is the caffeine level safe for busy people or kids?
A single recipe listed about 180 mg of caffeine per serving, which is similar to a regular cup of coffee. For most adults, that amount is safe and gives a gentle lift without the crash. Busy entrepreneurs can treat it as a morning pick‑me‑up, but kids or people sensitive to caffeine should keep the serving size small or skip the brew altogether.