



Traveling without good coffee feels wrong. You’re on a train, a trail, or a hotel room and you crave that fresh cup. This guide walks you through picking, using, and caring for the best portable coffee maker for travel so you never settle for bland hotel brew again.
We’ll break the process into five simple steps, add a quick comparison chart, and give you a maintenance cheat sheet. By the end you’ll know exactly what to pack and how to get a solid shot or smooth pour‑over wherever you wander.
Step 1: Define Your Travel Coffee Needs
First, think about the coffee moments you expect on the road. Are you after a quick espresso before a hike, or a mellow mug at a campsite? Your answer will shape the size, power, and brew style you need.
Ask yourself these questions:
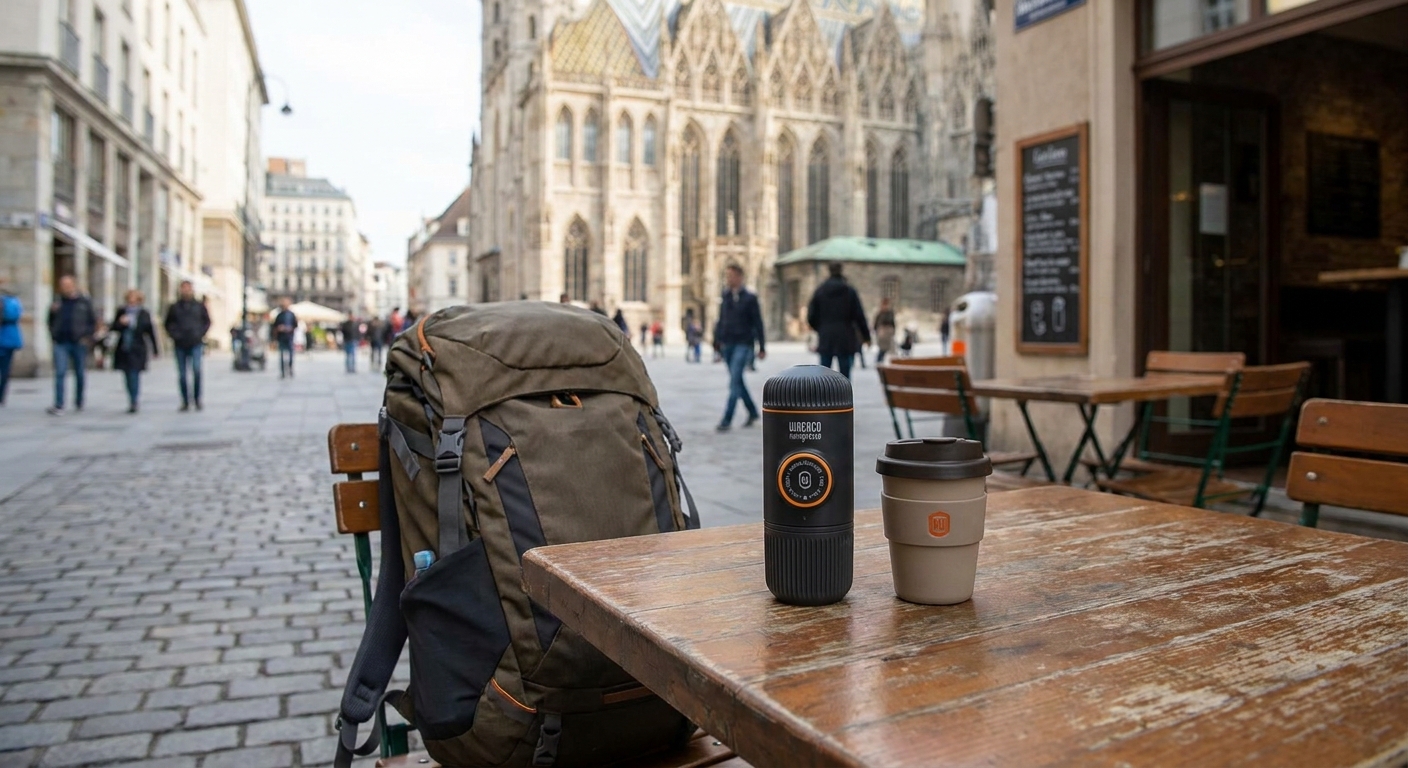
- How many cups a day do you drink?
- Will you have access to hot water or electricity?
- Do you prefer espresso, drip, or something in‑between?
Knowing the answers helps you cut out gear that won’t fit your routine. For example, if you only need a single espresso shot per morning, a tiny hand‑pump model will save space. If you like to share coffee with a partner, look for a unit with a larger water reservoir.
Consider the climate too. Cold‑weather trips drain batteries faster, so a manual device may be more reliable. Hot‑desert trips give you plenty of boiling water, making a stove‑heated press a good fit.
Finally, think about the weight you’re willing to carry. A feather‑light pour‑over dripper can be under an ounce, while a battery‑powered espresso maker may weigh a pound or more. Balance weight against brew quality , that’s the core trade‑off for travel coffee.
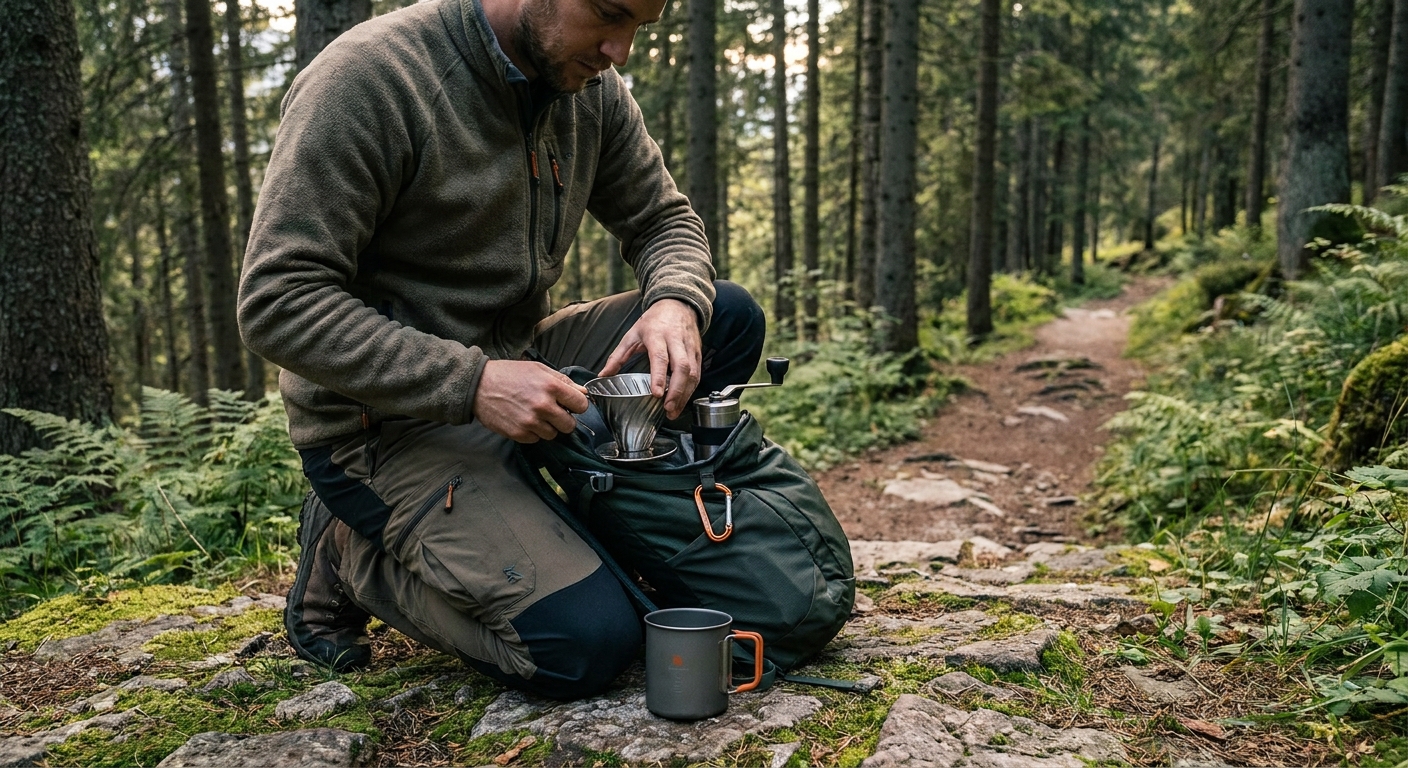
Step 2: Pick a Brewing Method for On‑the‑Go
Once you know your coffee cadence, choose a method that fits. The main families are espresso‑style, pressurized pour‑over, and immersion (French press or AeroPress‑style). Each has pros and cons.
Espresso‑style devices give you a thick, crema‑rich shot. They need fine grind, high pressure, and often a power source. If you love that café feel, look for a hand‑pump or battery‑run model.
Pressurized pour‑over (like a Aeropress) uses air pressure to speed extraction. It’s quick, easy to clean, and works with any grind size. It’s a solid middle ground for travelers who want strong coffee without the bulk of a true espresso machine.
Immersion brewers (French press, AeroPress Go) let grounds steep in water. They need no electricity, just hot water. The flavor is smoother and you can brew larger volumes.
Here’s a quick decision grid:
- Espresso‑style , best for strong shot, needs power or manual pump.
- Pressurized pour‑over , fast, versatile, works with medium‑fine grind.
- Immersion , simple, no power, great for multiple cups.
To illustrate, imagine a weekend backpacking trip. You’ll boil water on a camp stove, so an immersion brewer works well. On a business trip with hotel kettles, a pressurized pour‑over gives you speed. And for a road‑trip where you can plug in, a compact espresso pump delivers that café feel.
Don’t forget coffee beans. Fresh beans keep flavor high, but you’ll need a grinder. Many travelers pack a small hand‑crank grinder or pre‑ground beans in sealed bags. If you opt for pods, our single‑serve coffee pods work with most capsule‑compatible brewers and cut down on mess.
For more background on brewing science, see the Espresso Wikipedia entry. It explains why pressure matters for crema.
Step 3: Evaluate Power & Portability Options
Power source is the make‑or‑break factor for many travel brewers. You have three main paths: manual, battery, or external heating.
Manual units rely on you to generate pressure with a lever or pump. They’re light and never run out of juice, but you need consistent effort for good shots. The Wacaco Nanopresso is a classic example of a hand‑pump design.
Battery‑run makers embed a pump and heating element. They let you brew with one button, but you must track charge. A full charge often delivers 15‑30 shots, enough for a week of travel if you charge nightly.
External heating means you bring a kettle or camp stove. The device itself only extracts; you provide hot water. This is the lightest option because you skip built‑in heaters.
Here’s a quick checklist to match power to your trip:
- Backpacking , manual pump + camp stove.
- Business travel , battery‑run unit with USB‑C charger.
- Road trip , external kettle plus pressurized pour‑over.
Battery performance drops in cold weather. If you plan to camp below freezing, keep the unit in an insulated pouch and carry a spare power bank. Some manufacturers sell cold‑weather battery packs , worth checking if you’re a winter explorer.
Now watch a quick rundown of portable espresso options (the video is a short demo of a battery‑run model).
Notice how the device heats water internally, then pumps it through the coffee puck. That self‑heating feature removes the need for a separate kettle, a huge convenience on flights where you can’t bring a stove.
For a deeper look at how pressure stability affects taste, check the National Park Service travel guidelines. They discuss the importance of reliable equipment in remote settings.
Step 4: Compare Top Portable Coffee Makers (Including Our Recommended Pods)
Below is a quick decision matrix that lines up the main hardware families against the criteria we care about most. You can use it to score each option for your own trip.
Notice how the manual espresso pump is the lightest, but its water tank limits you to one or two shots before refilling. The immersion category holds the most water, making it perfect for group breakfasts.
If you like the convenience of pods, our 12‑Pack Single‑Serve Coffee Pods fit most capsule‑compatible brewers. They’re sealed for freshness and weigh only a few ounces in a travel bag.
When you match a category to your checklist, you’ll see why the market leans heavily toward espresso‑focused gear , travelers love that strong, fast caffeine hit, even if it adds a bit of weight.
"A solid espresso shot can power a mountain trek just as well as a cup of drip coffee," says a seasoned outdoor guide.
Step 5: Brew, Clean, and Maintain While Traveling
Great coffee starts with good prep, but the real secret is upkeep. A dirty unit will taste bitter, and mineral buildup can ruin a battery‑run heater.
Here’s a simple daily routine:
- Rinse the water reservoir with warm water right after each brew.
- Run a quick “flush” shot using only water to clear coffee oils.
- Wipe the sealing silicone with a soft cloth.
Every week, do a deeper clean. Fill the reservoir with equal parts water and white vinegar, run a brew cycle, then rinse three times with plain water. This removes scale that can lower heating efficiency.
If your brewer has a removable filter basket, soak it in warm soapy water for five minutes, then scrub with a soft brush. For capsule‑compatible units, discard the used pod and give the basket a quick tap‑out.
Storing the unit properly matters too. Keep the silicone seal fully compressed when the device is idle , this stops the material from drying out. If you’re heading into a cold climate, tuck the brewer inside your jacket for a few minutes before you start, so the internal parts warm up.
For a deeper look at the chemistry of coffee extraction, the Coffee extraction Wikipedia page offers solid background.
FAQ
What weight should I look for in a travel coffee maker?
Weight matters when you’re packing a backpack. Most manual espresso pumps sit under 0.8 lb, while battery‑run models can reach 1 lb. If you’re hiking long distances, aim for under 0.5 lb. For car trips or flights, a slightly heavier unit is fine as long as it fits in your carry‑on.
Can I use regular ground coffee with a portable espresso machine?
Yes, but you’ll need a fine grind similar to shop‑front espresso. Too coarse and the pressure won’t extract properly, leading to weak flavor. Many travelers pre‑grind beans at home and store them in airtight bags to keep them fresh.
Do I need a separate grinder for travel?
A small hand‑crank grinder works for most beans, though it adds a bit of weight. If you prefer convenience, buy pre‑ground espresso‑grade coffee or use our single‑serve pods. They eliminate the grinder entirely.
How many espresso shots can a battery‑run brewer make on a single charge?
Most modern units promise 15‑30 shots per full charge. Real‑world tests show about 20 shots before the battery dips below optimal temperature. If you plan to brew more than two cups a day, charge the device each night.
Is it safe to use a portable brewer on an airplane?
Yes, as long as the unit is battery‑powered and you follow airline rules for electronic devices. Most airlines allow small lithium‑ion batteries under 100 Wh, which covers most travel espresso makers. You cannot use the built‑in heater on the plane, so stick to the manual pump mode.
What’s the best way to keep coffee fresh while traveling?
Store beans in a sealed, opaque bag with a one‑way valve to let CO₂ escape. Keep the bag in a cool, dry spot , a zip‑top pouch in your daypack works well. If you use pods, keep the original packaging sealed until you’re ready to brew.
Can I brew cold brew with a portable device?
Yes. Immersion brewers like a small French press let you steep grounds in cold water for 12‑24 hours. Some pressurized pour‑over units also support a cold‑brew concentrate; just double the coffee dose and dilute later.
How do I avoid bitter coffee on the trail?
Bitter notes often come from over‑extraction or stale beans. Use fresh beans, grind just before you brew, and watch brew time , 30‑45 seconds for espresso, 1‑2 minutes for pour‑over, and 4‑5 minutes for immersion. Rinse the equipment well to clear old oils.
Conclusion
Choosing the best portable coffee maker for travel isn’t about picking the flashiest gadget. It’s about matching weight, power, and brew style to the way you move. Start by defining your coffee rhythm, then pick a method that fits your access to water and electricity. Evaluate whether a manual pump, battery‑run unit, or simple immersion brewer makes sense for your typical trip.
Use the comparison chart to score each category against your checklist, and don’t forget to pack our single‑serve coffee pods if you want the least mess. Finally, keep a daily rinse routine and a weekly vinegar flush , that simple habit will keep your brew tasting bright for months.
With a clear plan, you’ll never have to rely on stale hotel coffee again. Pack smart, brew bold, and enjoy that fresh cup wherever the road takes you.