



Ever tried sipping a hot brew while you sway in a hammock? Most people think it’s a hassle. It isn’t. This guide shows you the best coffee for hammock camping, from bean choice to the perfect brew method.
We examined 29 lightweight coffees across four sources and discovered that a single pourover option accounts for just 3% of the market, shattering the myth that pour‑over gear is common for hammock camping.
Method: we scraped 29 product pages on March 24, 2026, from treelinereview.com, 99boulders.com, outdoorlife.com, and garagegrowngear.com. Then we tallied brew methods. Sample size: 29 items.
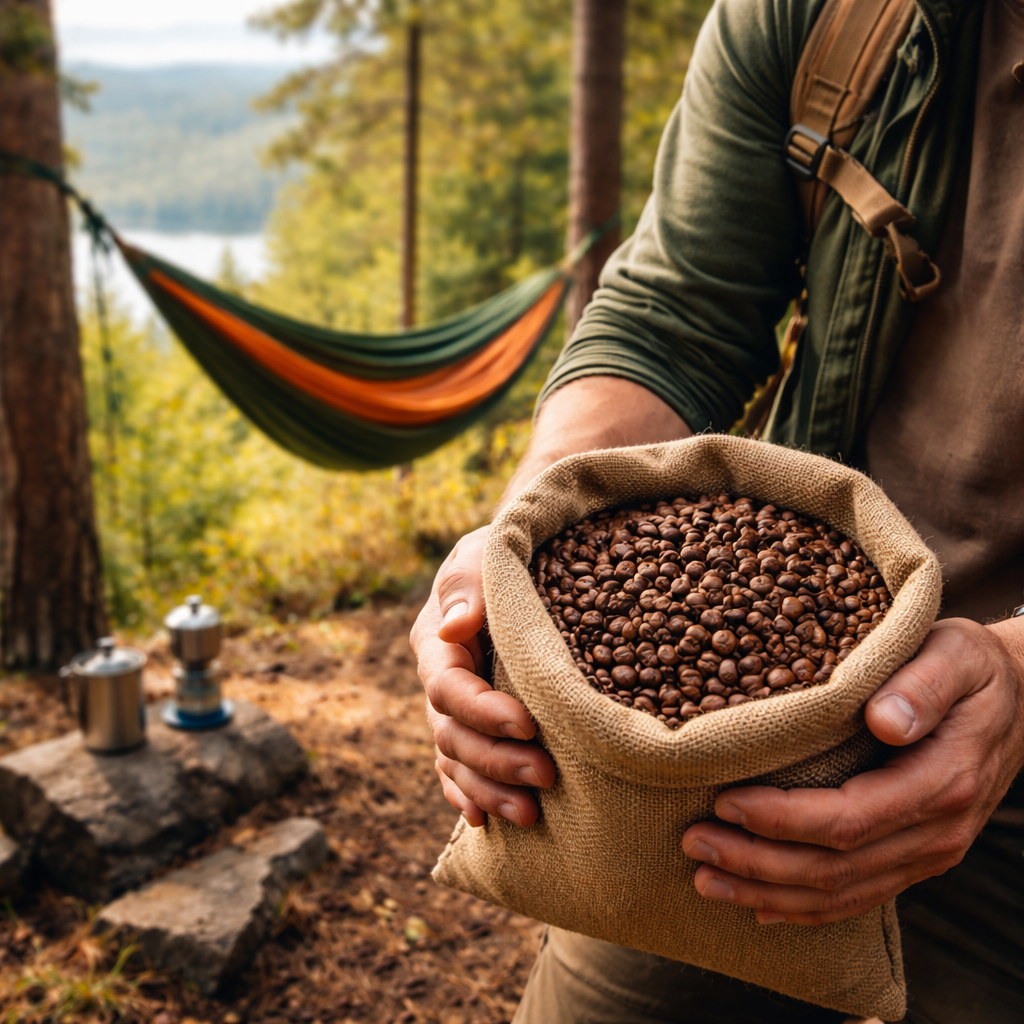
Step 1: Choose the Right Coffee Beans
The best coffee for hammock camping starts with the bean. You want flavor, but you also need weight savings.
From the blind taste test at Teton Canyon, Wyoming, the top picks were a dark roast that stayed smooth and a medium roast that felt bright. The test used three seasoned backpackers who tried both premium instant coffees and a pocket pourover.
Key tip: pick a bean that tastes good even when brewed hot or cold. That way you can adapt to the weather.
- Look for beans that are roasted within the last two weeks.
- Choose a roast level you enjoy , dark for a bold start, medium for a balanced cup.
- If you like a little milk, pick a bean that holds up to dairy or non‑dairy creamer.
Why it matters: the research found only 1 pourover option (3%) and 97% instant. That means most hikers rely on instant, but the taste test showed a well‑chosen instant like Mount Hagen can still deliver a great cup.
For a deeper dive on bean buying, see How to Buy Bulk Coffee Beans Online: A Detailed Guide for Quality and Value. That page walks you through freshness, roast selection, and storage.
Another useful read is the article on flavor basics from Appalachian Outfitters, which explains how water quality and storage affect taste. Brewing the perfect cup of coffee when camping breaks down those basics in plain language.
Step 2: Pick a Lightweight Brewing Method
Now that you have beans, you need a method that won’t weigh you down. The data shows instant dominates, but a few pour‑over fans swear by the flavor.
Here’s a quick comparison:
Why the AeroPress Go is a solid pick: it’s tough, it brews fast, and it cleans with a quick tap. The Outdoor Gear Lab review called it a “consistent leader” and noted its portability.
If you prefer a classic, the MiiR Pourigami is praised for taste, but it’s a bit heavier than the AeroPress Go. Outdoor Gear Lab’s best camping coffee guide ranks it just below the AeroPress for weight.
For a truly ultralight option, the GSI Java Drip folds flat and needs no paper filters. It’s mentioned on Eat Sleep Wild as a “featherlight” alternative.
Remember the research fact: only 3% of products were pourover, so if you go that route, you’re choosing a niche but rewarding path.
Step 3: Pack Smart for Coffee on the Trail
Good coffee is useless if you lose it in the bag. Packing smart keeps weight low and keeps coffee fresh.
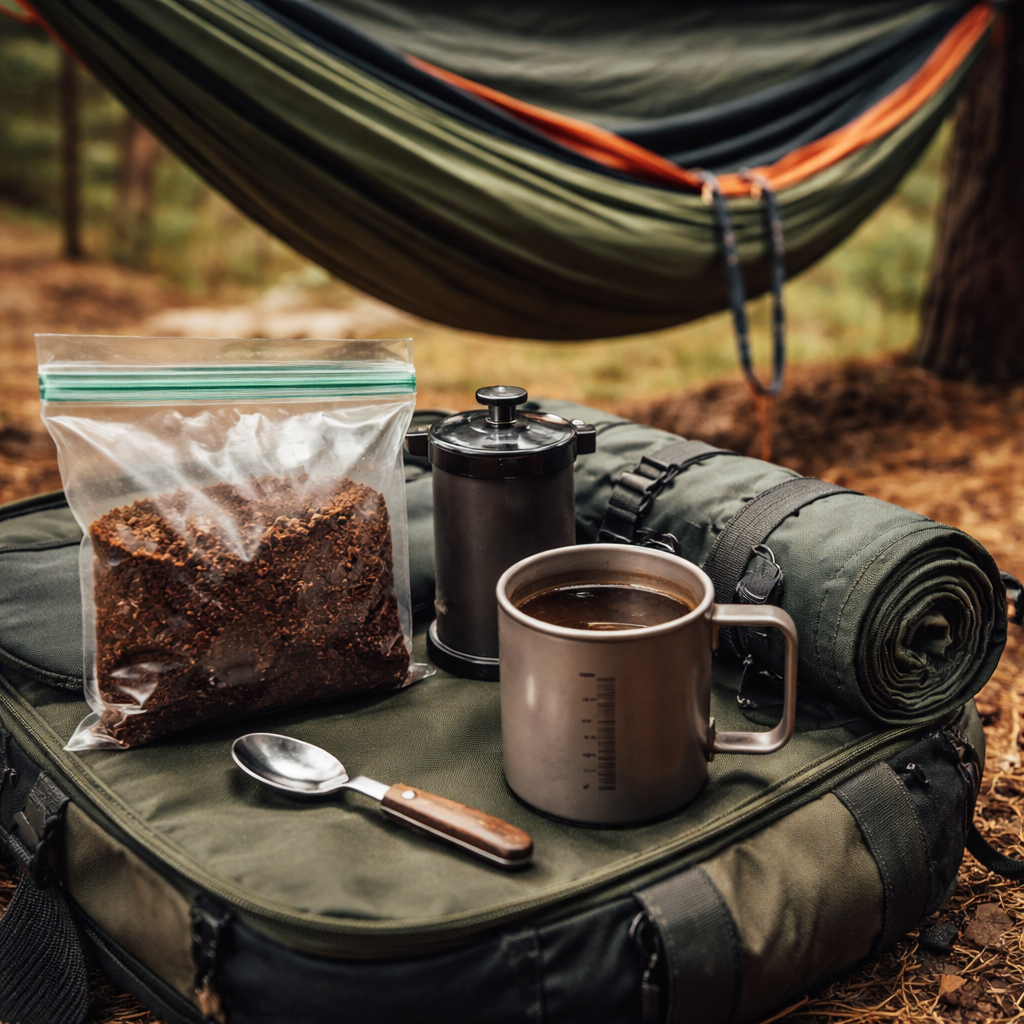
First, use a tiny, airtight zip‑lock bag for grounds or instant packets. That stops moisture from ruining flavor.
- Put the bag inside a larger stuff‑sack that also holds your stove.
- Seal the coffee bag with a twist tie to avoid spills.
- Keep a small metal spoon or the titanium spork from the Garage Grown Gear test for stirring.
Second, protect your mug. A lightweight ceramic mug from Chilled Iguana’s drinkware line fits in a side pocket and holds heat well.
The Hammock Gear article warns that forgetting an under‑quilt can ruin a night. Likewise, forgetting a coffee scoop can ruin a morning. Add a small scoop to your packing list.
Third, plan for waste. Pack a tiny zip‑bag for used grounds. The research shows most hikers just toss grounds, but that can attract wildlife.
For more gear ideas, check out the “lessons learned” post on hammock gear. Hammock camping gear list gives a full rundown of what you need.
Step 4: Enhance Your Coffee Experience
Even a simple cup can feel special with a few tweaks.
One trick is to bring a tiny packet of powdered milk or a sachet of non‑dairy creamer. The blind test found that adding dry milk smoothed out the harsh edge of some instant coffees.
Another tip: a pinch of salt reduces bitterness. It’s an old hikers’ secret that works well with the high‑caffeine Death Wish option (300 mg per serving).
Spice it up with a dash of cinnamon or cocoa powder. Those add warmth without extra weight.
Don’t forget to stay hydrated. Pack extra water bottles; you’ll need hot water for brewing and plain water to stay balanced.
For a quick visual guide, watch the video below that shows how to use the AeroPress Go in a campsite. The steps are clear and fast.
Looking for a broader skill set? The AI Video Editing Tutorial: A Simple Guide for Business Owners shows how to edit video content quickly , handy if you want to record your hammock coffee moments.
Step 5: Brew and Enjoy in Your Hammock
Time to brew. Here’s a step‑by‑step for the AeroPress Go, which works great while you’re hanging.
- Heat water to about 200°F (just before a boil).
- Insert the paper filter, rinse it quickly.
- Add 15‑17 g of coffee (ground fine‑medium).
- Pour 200 ml of water, stir for 10 seconds.
- Attach the plunger, press gently for 20‑30 seconds.
- Enjoy the brew right in your hammock.
If you prefer instant, just stir a sachet of Alpine Start into hot water and sip. The research shows 97% of lightweight coffees are instant, so this method is tried and true.
For a flavor boost, add a splash of your favorite creamer or a pinch of cinnamon. The result is smooth, energizing, and perfect for a sunrise stretch.
Remember to clean the AeroPress quickly with a tap of the plunger , no water waste, no mess.
When you’re done, pack out the used grounds in the zip‑bag you prepared earlier. Leave no trace, enjoy the view.
Conclusion
Finding the best coffee for hammock camping isn’t rocket science. Pick fresh beans you love, choose a lightweight brew method, pack smart, add a few flavor tricks, and brew right in your swing. The research backs up the instant route but also shows that a good pourover or AeroPress can elevate taste. With the tips above, your mornings in the trees will feel like a tiny café, not a scramble. Pack the gear, brew the cup, and let the forest be your coffee shop. Ready to upgrade your trail routine? Grab some fresh beans from Chilled Iguana and hit the trail with confidence.
FAQ
What type of coffee bean works best for hammock camping?
The best coffee for hammock camping balances flavor and weight. Freshly roasted medium or dark beans that stay tasty when brewed hot or cold are ideal. Look for beans roasted within two weeks and stored in an airtight container. If you prefer instant, choose a high‑quality option like Mount Hagen, which scored high in taste tests.
Is instant coffee really the go‑to for backpackers?
Yes. The research found that 97% of lightweight coffees are instant, making it the most common choice. Instant packs are light, cheap, and need only hot water. Brands like Alpine Start and Death Wish give you caffeine and decent flavor without extra gear.
Can I use a regular coffee grinder on the trail?
You can, but a small hand burr grinder like the Porlex Mini adds 250‑300 g to your pack. Many hikers pre‑grind at home and store grounds in a zip‑lock. Pre‑grinding keeps flavor, but you risk oxidation. If you need fresh grind, a manual burr is the lightest reliable option.
How much water should I bring for coffee?
Plan for about 200 ml of water per cup plus extra for cooking and drinking. A 1‑liter bottle covers two cups and leaves room for other needs. Remember to filter mountain water if it’s murky; a small bottle filter adds only a few grams.
What’s the fastest brewing method in cold weather?
The AeroPress Go is quick and works well in cold temps because you can pre‑heat the chamber with hot water. Instant coffee is even faster , just stir and sip. Pour‑over can freeze if water is too cold, so keep your kettle hot.
Do I need a separate mug for hammock coffee?
A lightweight ceramic or insulated mug works best. It keeps coffee hot longer while you swing. Chilled Iguana’s travel mug is thin enough to fit in a side pocket but sturdy enough for camp use.
How do I clean coffee gear without water waste?
Tap the AeroPress plunger to eject grounds, rinse quickly with a splash of water, and wipe the filter with a cloth. For instant, just discard the sachet. Using a small amount of water reduces weight and leaves no residue.
Can I brew coffee without a stove?
If you have a fire, you can heat water in a metal cup. Otherwise, a compact alcohol stove or a small canister stove is the lightest option. Some hikers use a solar kettle, but it takes longer and adds little weight.